
We recommend deep cleaning HVAC vents by shutting off the system, washing removable covers, gently vacuuming visible dust at duct openings, and checking the air filter to help control dust and support airflow. Keep DIY air vent cleaning within easy reach. Leave deep ductwork or suspected contamination to a qualified professional.
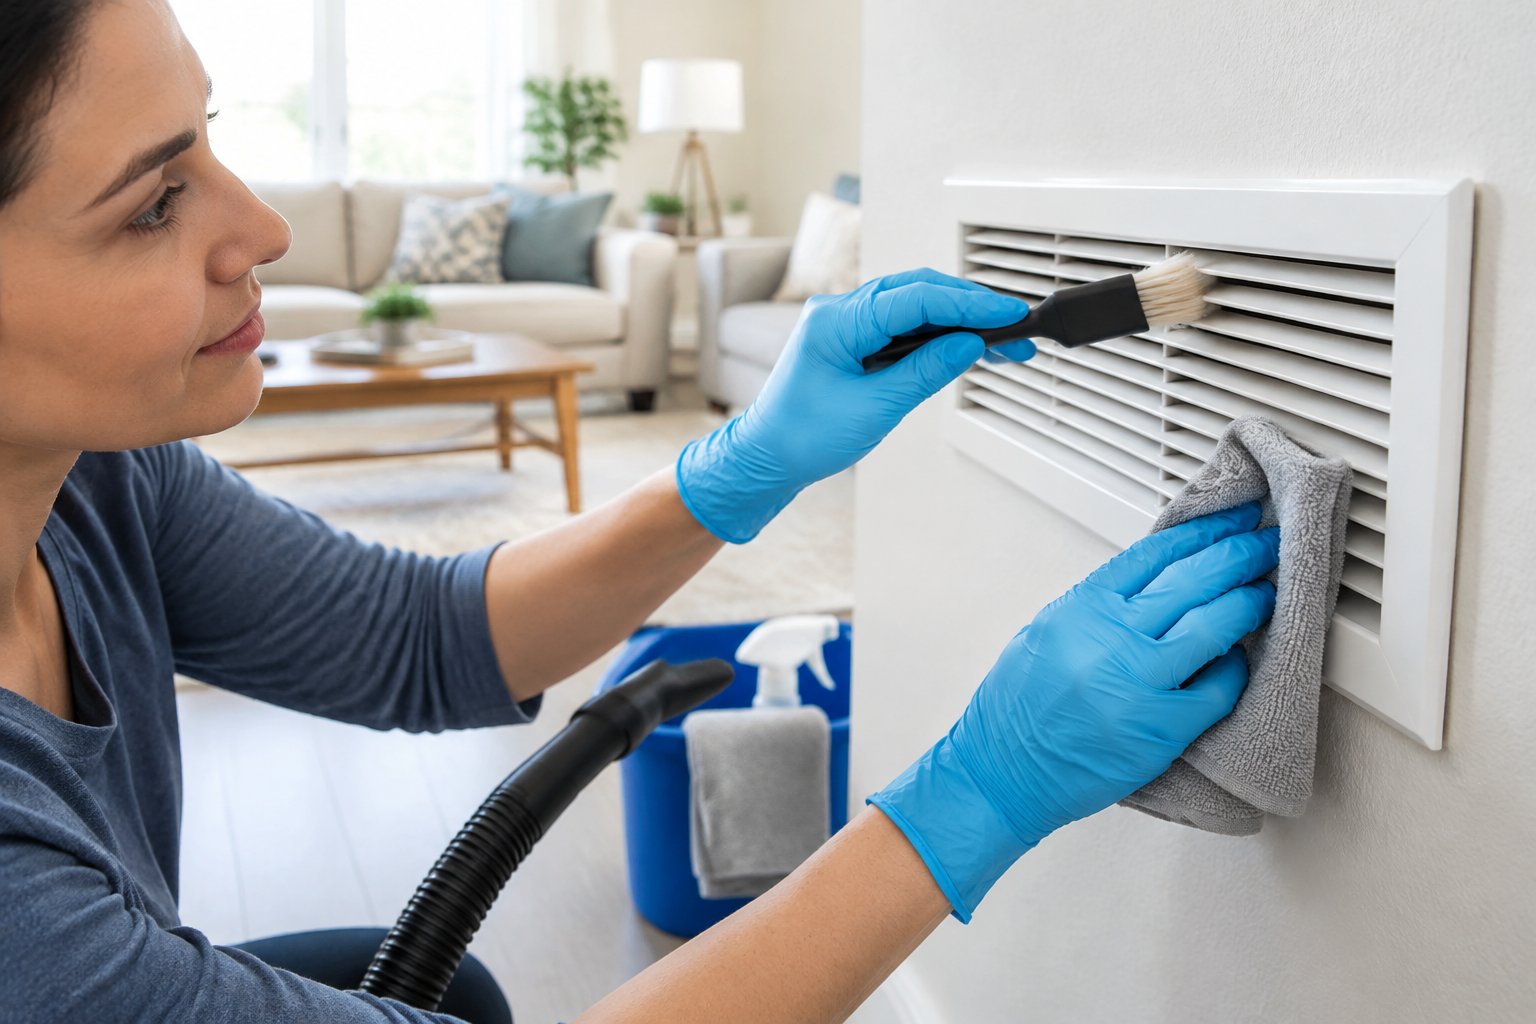
Dusty HVAC vents deserve attention, but indoor air quality also depends on household dust, moisture, ventilation, and filtration. Clean covers remove one source of loose debris. Persistent odors or weak airflow call for a closer look at the system.
Gather Your Supplies and Know the Limits of DIY Cleaning
Our recommended DIY vent cleaning kit uses gentle tools for removable covers and visible, accessible surfaces. Gather everything before removing a grille:
- Screwdriver that fits the cover screws
- Vacuum with a hose, soft brush, and crevice attachment
- Microfiber cloths and a soft-bristled brush
- Mild dish soap, warm water, and a drying towel
- Flashlight and a small container for screws
- Gloves, safety glasses, and a well-fitting dust mask
- Stable stepladder for safely reachable ceiling vents
- Correct replacement filter, if needed
We favor sealed vacuum cleaners with HEPA filtration to help contain fine dust. Before starting, check that the vacuum’s filter and collection bag are properly installed.
The safe boundary for learning how to clean air vents is the cover, the opening, and nearby hard surfaces you can see clearly. Keep tools away from internal insulation and delicate duct liners. Avoid powered rotary brushes, compressed air, and attempts to push a hose through hidden air ducts.
Leave ductwork disassembly and internal HVAC equipment cleaning to a technician. Stop if you encounter pest droppings, wet insulation, suspected mold, or damaged material.
Step 1: Turn Off the System and Locate Supply and Return Vents
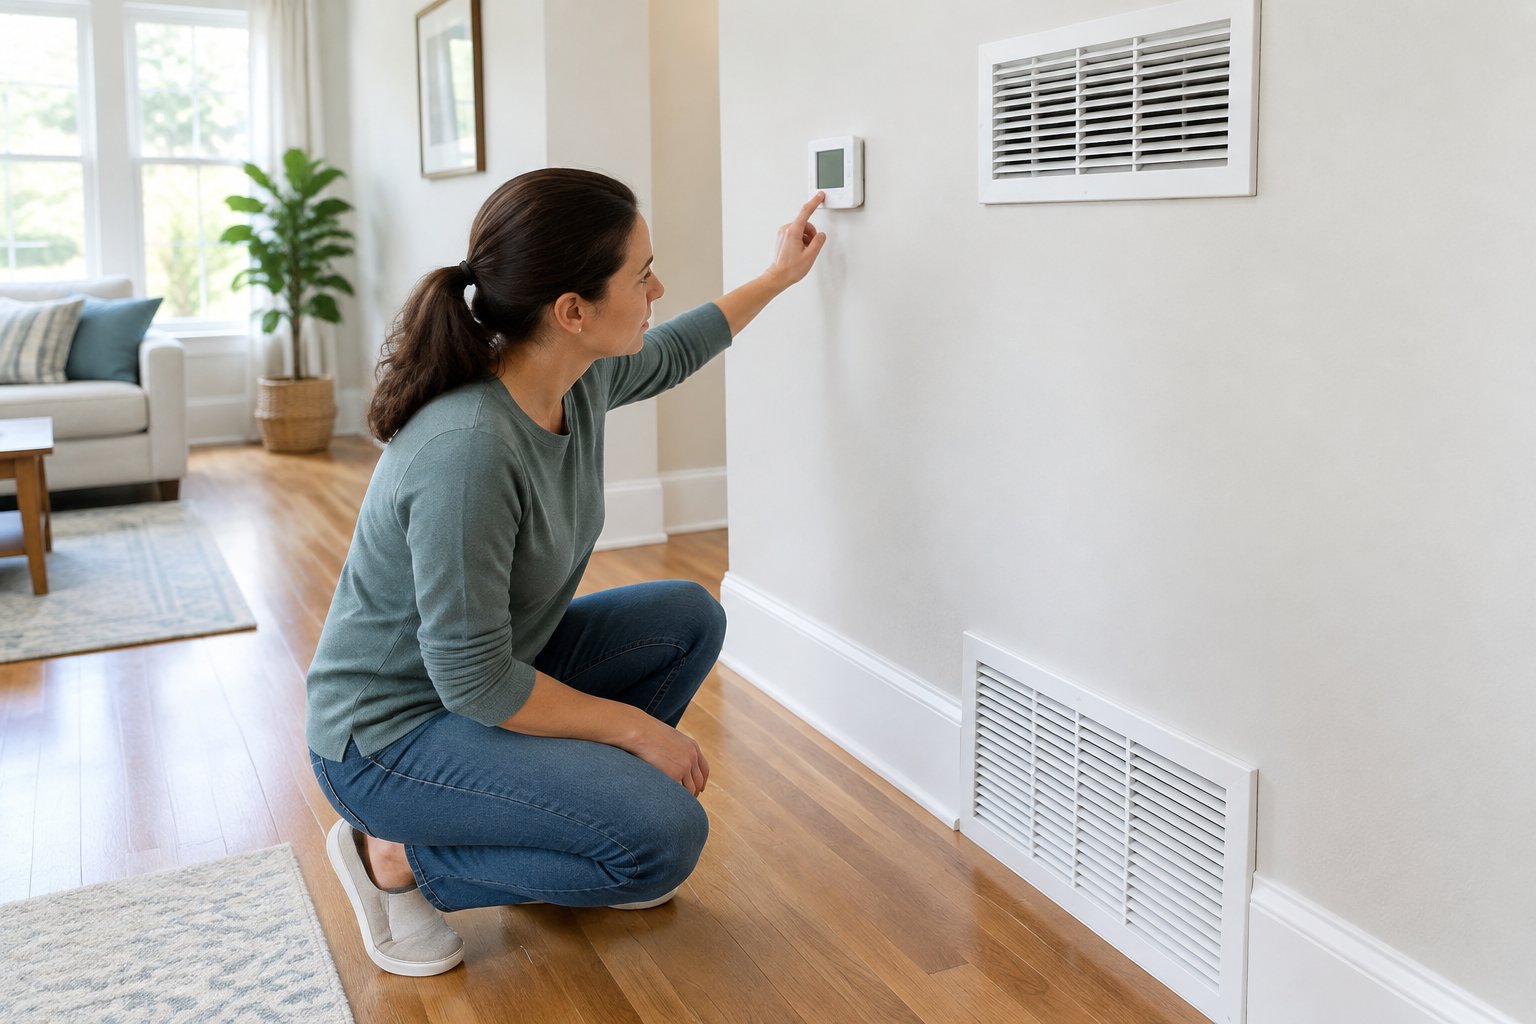
Turn off heating, cooling, and the fan before opening any vent. Follow the equipment’s shutdown instructions and disable schedules that could restart the HVAC system while you work.
Set the thermostat to Off and confirm that the blower has stopped. A thermostat set to Off does not disconnect electrical power. Follow the manufacturer’s additional safety steps when accessing a filter compartment, and keep electrical and service panels closed.
Next, identify the openings throughout your home:
- Supply registers deliver conditioned air into rooms. Many have an adjustable lever.
- Return grilles draw room air back toward the equipment. Some hold an air filter behind the grille.
- Floor vents collect dropped objects and debris near floor level.
- Ceiling vents require secure ladder access and protection beneath the opening.
In central air conditioning, both supply vents and return air vents need clear space around them. Move furniture and curtains away. Photograph adjustable louvers before removal so you can restore their position.
Keep children and pets away from uncovered floor openings. Leave high or awkwardly placed covers for a professional if reaching them requires leaning from a ladder.
Step 2: Remove, Wash, and Thoroughly Dry the Vent Covers
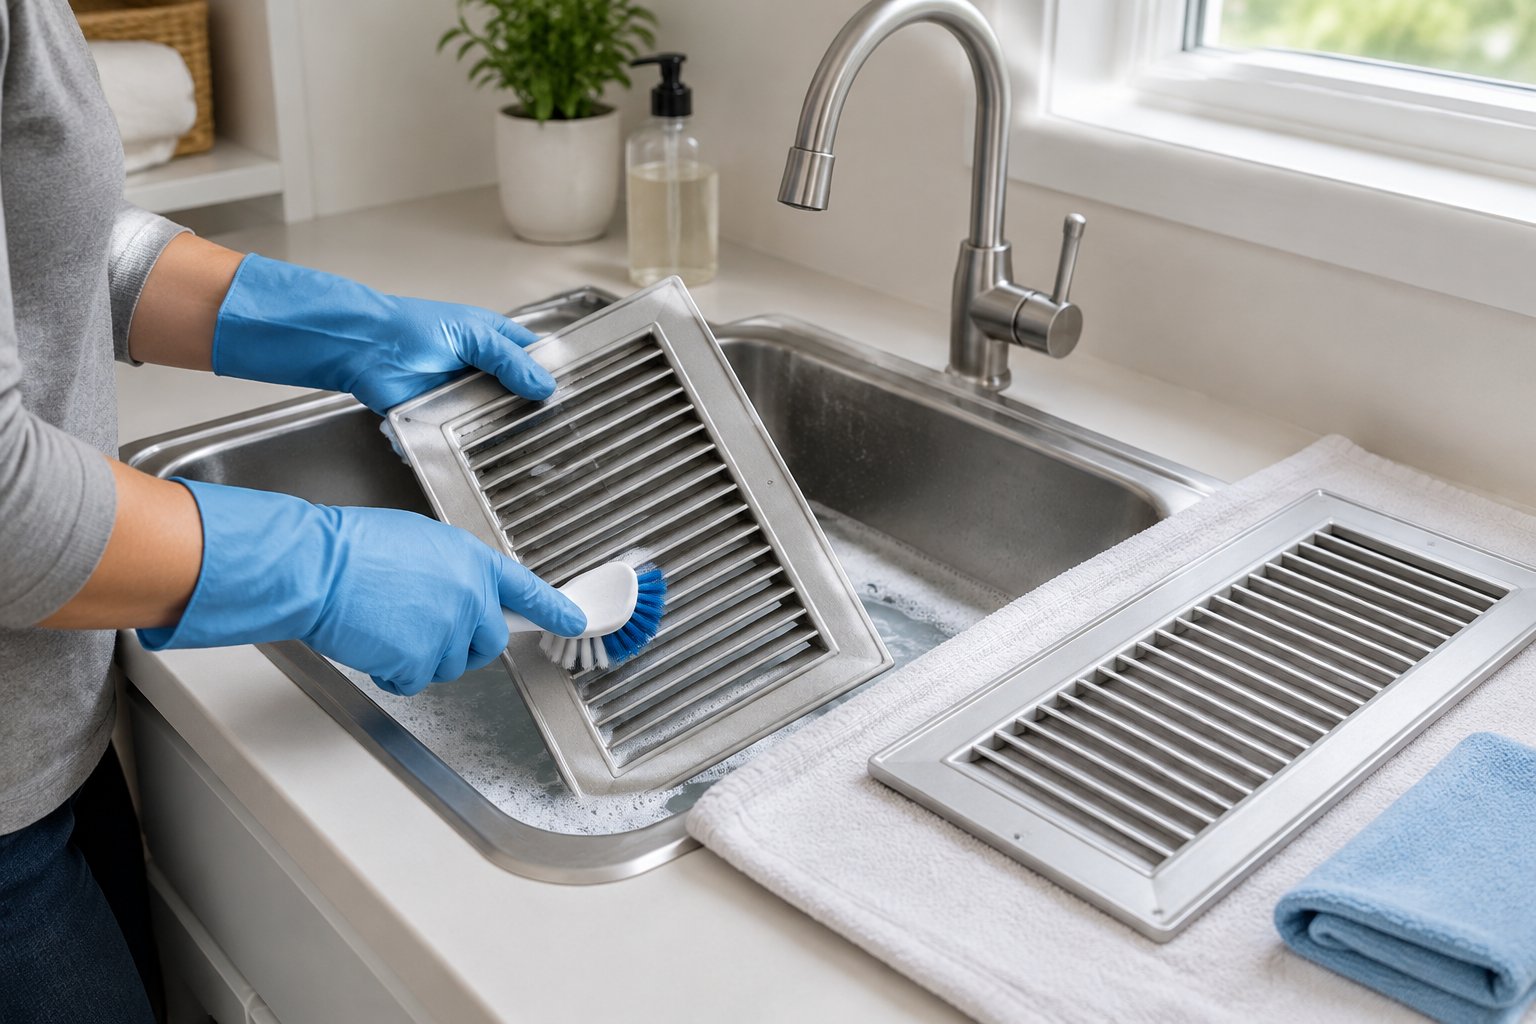
Wash removable vent covers only if their material and care instructions allow water cleaning. Start with dry dust removal to keep loose debris out of the sink and off surrounding walls.
- Vacuum the attached cover. Use a soft brush to lift loose dust buildup from the slats.
- Remove it carefully. Support wall and ceiling covers while loosening screws. Place the hardware in a container.
- Check the material. Plain washable metal or plastic covers suit mild soap and water. Wood, delicate finishes, and motorized covers need their specified care method.
- Wash gently. Use warm water with mild dish soap, then brush between the louvers without forcing them.
- Rinse and dry. Towel off excess water and allow hinges, corners, and seams to air-dry completely.
For cleaning vent covers with chipped paint or rust, avoid long soaking and hard scrubbing. Replace covers with sharp edges, broken louvers, or mounting points that no longer hold securely.
A cover stuck to paint needs careful handling. Avoid pulling against the drywall, and stop if removal starts damaging the surrounding surface. For dirty air vents that cannot be removed safely, vacuum the face and wipe suitable surfaces with a lightly damp microfiber cloth.
Step 3: Inspect and Gently Vacuum Accessible Duct Openings
Inspect each opening before vacuuming, and clean only visible hard surfaces within comfortable reach. Keep the nozzle in sight throughout the task.
Shine a flashlight inside the opening. Look for loose dust and dropped objects, as well as warning signs such as water staining, damaged lining, or pest evidence. A thin dust coating alone does not establish a serious contamination problem.
For safe cleaning:
- Pick up loose objects near the opening while wearing gloves.
- Vacuum the edges and accessible metal surfaces with a soft attachment.
- Move slowly so the nozzle collects debris without pushing it farther inside.
- Finish with a dry microfiber cloth around the mounting edge.
Flexible ductwork has a thin inner liner that tears under pressure. Keep the nozzle away from exposed flexible material, fiberglass duct board, and insulated lining. Never scrape these surfaces.
A wet/dry vacuum needs the correct fine-dust filter and any required bag for dry pickup. Its ability to collect liquids does not make wet duct cleaning safe.
When cleaning air vents, skip sprays and steam. Moisture left inside a duct adds a problem that surface cleaning cannot solve.
Step 4: Check the Filter, Reinstall Covers, and Test Airflow
Check the HVAC filter while the system remains off, then reinstall dry covers before restarting. Match the replacement to the equipment’s required dimensions and approved filter type.
Locate the air filter using the equipment manual. Remove it carefully and bag a dirty disposable filter to contain dust. Wash a reusable filter only as directed, and allow it to dry fully before installation.
Follow the airflow arrow on the filter frame. It points in the direction air travels toward the blower, which is not necessarily upward. Make sure the filter fits snugly and close its access cover.
Reattach each vent cover without overtightening the screws. Restore supply-register settings, collect your tools, and confirm that every return grille is clear.
Restart the system and check the cleaned openings:
- Listen for rattling or whistling.
- Check that supply registers deliver air.
- Watch for fresh dust blowing into the room.
- Note persistent odors or rooms with weak airflow.
Clean air vents should sit securely with unobstructed openings. A hand check can help spot a large difference between rooms, but a technician’s airflow measurement is needed for a precise diagnosis.
How Often Should You Clean Vents and Check HVAC Filters?
Check vent faces and HVAC filters monthly, with deeper cover cleaning when dust accumulates. A calendar reminder helps catch loading before a filter becomes heavily clogged.
Use this starting routine, then adjust for your home and equipment:
- Monthly: Inspect air vents and wipe or vacuum visible surface dust.
- Once or twice a year: Remove and wash suitable covers, inspecting the openings at the same time.
- During dusty periods: Check more frequently after renovation work or when pet hair builds up.
- At filter changes: Record the date and inspect the filter slot for gaps or damage.
For common disposable filters, manufacturer guidance recommends monthly checks and replacement at least every three months. Follow the specific instructions for deep-media air filters, reusable filters, and specialty filtration systems.
Preventive maintenance should also follow the equipment’s service schedule. A heater and its airflow components need appropriate seasonal care, even when the visible registers look clean.
Whole-system duct cleaning follows evidence of a problem, not the same calendar as routine HVAC maintenance.
Keep Dust and Moisture Under Control Between Cleanings
Reduce the dust entering returns and address moisture promptly to keep cleaned vents in better condition. Pair housekeeping with humidity control and proper filter care.
Vacuum floors and upholstered surfaces, and use a damp cloth on suitable furniture surfaces. Keep return grilles clear of stored items. Groom pets away from return openings, and limit indoor smoke and heavy fragrance sprays.
Check indoor humidity with a hygrometer, especially in damp rooms. If moisture remains high, correctly sized dehumidifiers help remove excess water from the air. Condensation around a vent needs investigation for insulation problems or air leakage.
Mold spores are common in indoor air. Controlling moisture helps prevent growth on damp surfaces. Report leaking drain pans, recurring water stains, or wet duct insulation to an HVAC professional.
For extra particle control, our air purifier buying guidance emphasizes room size and filtration needs. A portable purifier supplements housekeeping and HVAC filtration, but moisture problems still require repair.
During dusty renovations, arrange safe system shutdown and protect openings in the work area. Remove those temporary covers before restarting the system.
What if Airflow Remains Weak After Cleaning?
Persistent airflow problems need diagnosis beyond vent cleaning. Check accessible controls and obstructions before booking an HVAC service call.
Confirm that the new filter matches the approved specification and that supply-register levers are open. Check for a curtain or furniture blocking a return. If airflow changed immediately after cleaning, inspect the cover’s position and its adjustable blades.
Record whether the problem affects one room or the whole home:
- One room: A closed damper, crushed branch duct, or disconnected section deserves inspection.
- Several rooms: A restricted filter or return-air path is a possible cause.
- The whole system: Blower trouble or a dirty or frozen coil requires professional attention.
An air conditioner with visible ice or water around the indoor equipment needs prompt service. Turn cooling off and follow the manufacturer’s instructions while arranging help.
Ask the technician to measure airflow and system pressure, then inspect for duct leaks and damaged runs. To improve airflow and protect HVAC efficiency, the repair needs to address the restriction or equipment fault. Rising energy bills alone do not establish that dirty ducts are responsible.
When Is Professional Duct Cleaning Worth Considering?
Professional duct cleaning is worth considering when inspection reveals substantial contamination beyond safe DIY reach. Arrange an assessment if you find suspected mold, pest activity, or heavy debris being released through registers.
Professional air duct cleaning requires equipment that contains loosened material while extracting it. Before hiring a contractor, ask for:
- Photos showing the condition that needs treatment
- A written scope covering the affected system components
- The containment and vacuum methods planned
- Relevant insurance and experience with your duct material
- A clear price and any conditions that change it
- Before-and-after documentation
Ask about NADCA certification and who will supervise the work. Certification is a useful credential, while the written scope establishes what the contractor will do.
Air duct cleaning also needs to address the cause of contamination. Pest entry points require correction, and moisture problems need repair before mold-related work begins. Wet or moldy insulation often requires replacement.
Use caution with automatic sanitizing treatments and promises of allergy relief. Discuss chemical products and their suitability for your duct material before authorizing their use.
Make Clean Vents Part of Routine HVAC Care
Focus vent cleaning on accessible surfaces, and include filter care and moisture checks in your routine. Wash suitable covers, vacuum gently, and reinstall every part only after it is fully dry.
Add vent inspections to your preventive maintenance reminders and follow the equipment’s HVAC maintenance schedule. If odors return or airflow stays weak, arrange an inspection and describe exactly which rooms or openings are affected.
Frequently Asked Questions
Check the cover and equipment instructions before using any cleaning method beyond mild hand washing. These details help prevent damage during routine care.
Can you put vent covers in the dishwasher?
Hand wash unless the manufacturer specifically allows dishwasher cleaning. High heat and strong detergent can damage paint, plastic, or moving parts.
Should every return grille have a filter behind it?
Filters belong only in the locations specified for your HVAC system. Check the manual before adding one, because an extra filter creates additional resistance to airflow.
Does HVAC air duct cleaning include the dryer vent?
Dryer-vent cleaning is a separate service unless the contractor explicitly includes it. Confirm both items in the written estimate because the dryer exhaust carries lint through a separate route outdoors.
Can torn flexible ductwork be cleaned and reused?
A torn flexible duct needs assessment before cleaning proceeds. It may need repair or replacement. We recommend showing the damage to the contractor before authorizing professional duct cleaning, since damaged liners require special handling.
Ashley Wells

Your trusted source for product reviews, decor inspiration, and expert tips. Ashley Wells helps you make informed choices and elevate your lifestyle. Discover the best products and decor solutions for your home. Follow Ashley Wells for the latest reviews and trends. Create your ultimate living spaces with her.

