
We recommend weatherstripping the moving edges of drafty windows and exterior doors. Then seal door bottoms with a fitted sweep to reduce air leakage and lower heating and cooling bills. Choose a seal that compresses when closed but still allows normal movement. Weatherstripping improves energy efficiency by helping your home hold conditioned air and prevent drafts.
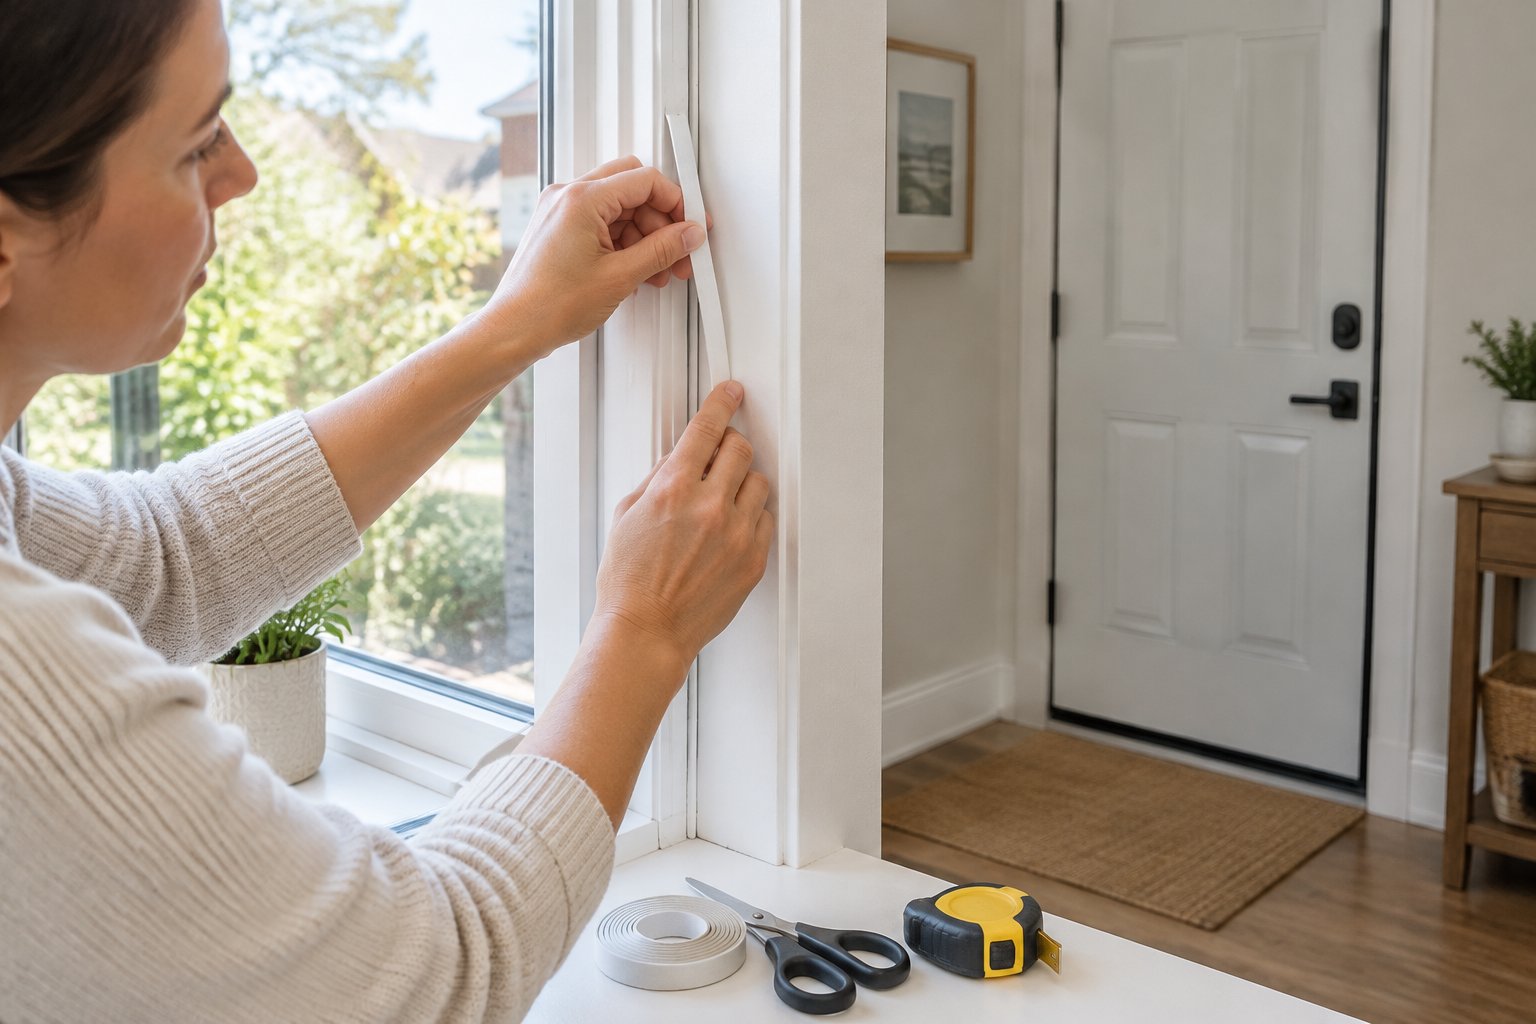
A thicker strip does not guarantee a better seal. An oversized gasket makes a door hard to latch, while foam placed in a sliding track quickly wears away. Locate each leak before buying materials, and match replacement seals to the existing window or door design.
Key Takeaways
- Match each seal to the gap and the way the window or door moves.
- Prepare clean, dry surfaces before attaching weatherstripping.
- Check for drafts and smooth operation after installation.
Step 1: Find Air Leaks Around Windows and Doors
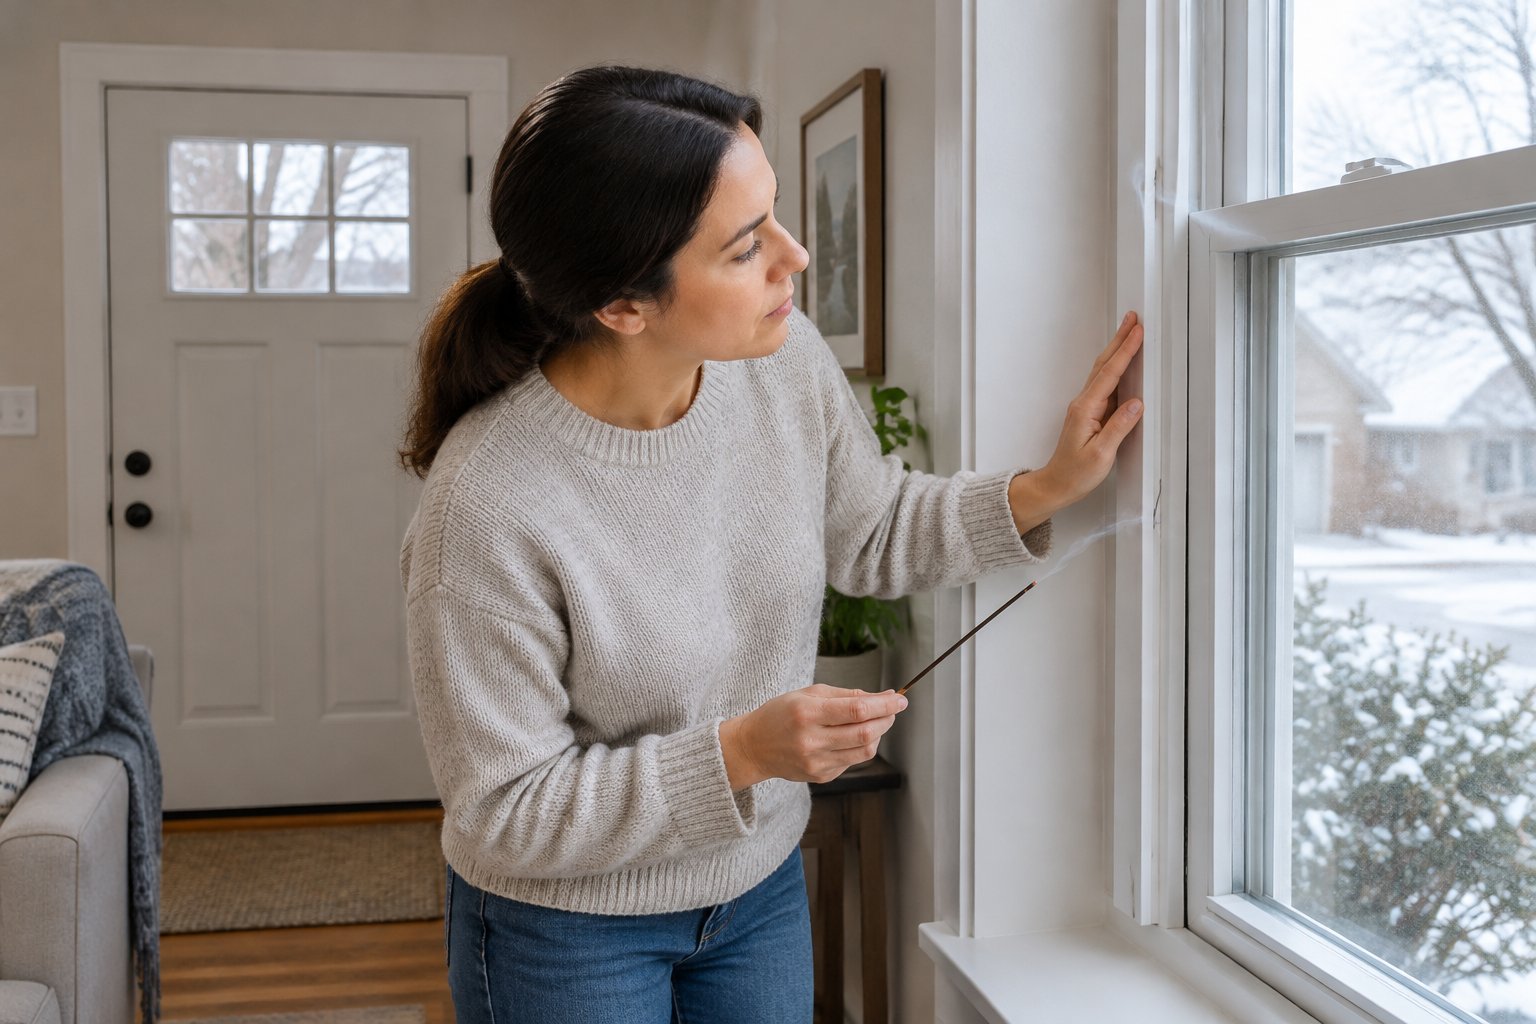
Check closed, latched windows and doors for air leaks before removing any existing seals. A cool or windy day makes air leakage easier to detect.
Start with a visual check, then confirm suspected leaks:
- Inspect the seals. Look for missing pieces, cracked rubber, flattened foam, and loose corners.
- Feel along the edges. Move your hand around window sashes, meeting rails, door jambs, and the threshold.
- Use a tissue. Hold a thin tissue near suspected gaps and watch for movement. Keep indoor fans off during this check.
- Try a paper test. Close a door or window on a strip of paper, then pull gently. Little resistance suggests weak contact at that spot.
- Mark the leak. Use removable tape to record each location.
We prefer a tissue test because it avoids smoke and an ignition hazard. If you use incense, keep the ember away from curtains and finishes. Avoid smoke around anyone with breathing sensitivities.
Separate leaks at moving joints from cracks between fixed trim and walls. Weatherstripping belongs at moving joints; suitable caulk seals stationary cracks. A cold feeling beside glass without detectable air movement may also mean heat is escaping through the glass.
Step 2: Choose the Right Weatherstripping for Each Gap
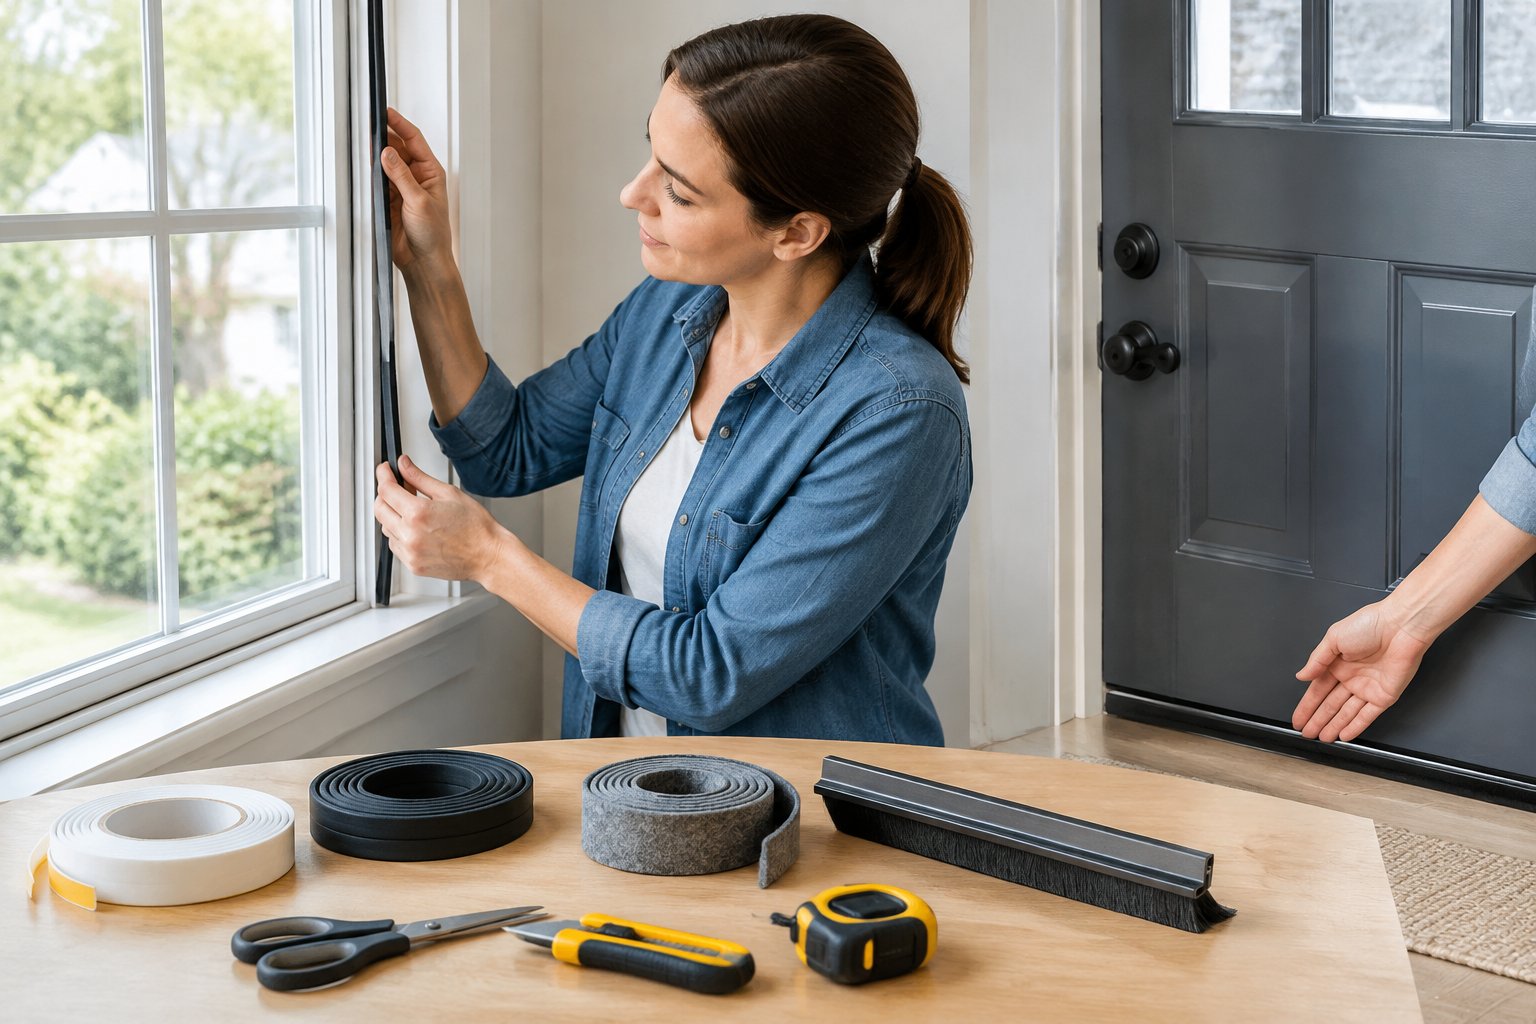
Choose weatherstripping that matches both the gap size and the movement at that joint. For windows or doors with a fitted channel, we favor a replacement that matches the factory seal.
- Foam tape: Adhesive foam weatherstripping suits compression points such as sash tops and bottoms. Choose a product rated for the surface and exposure.
- Felt weatherstripping: Suitable for sheltered, low-wear locations, felt offers a basic seal. Felt has low durability and should stay away from moisture and abrasion.
- V-strip weatherstripping: Also called a tension seal, this folded strip springs against a gap. Compatible applications include sash channels and door edges.
- Tubular weatherstripping: A hollow rubber, silicone, or vinyl profile compresses against a closing door or window.
- Pile weatherstripping: Brush-like fibers suit sliding windows and patio doors. Match the backing width and pile height to the original.
- Vinyl weatherstripping: Available in several profiles, vinyl must suit the joint’s compression and mounting method.
- Metal weatherstripping: Spring bronze and other metal tension seals provide durable contact but require careful fitting.
- Magnetic weather stripping: Use a compatible system on doors with a suitable magnetic contact surface, such as certain steel doors.
Check the package’s gap range before purchasing. For uneven openings, correct alignment first, then select a seal that fits the remaining clearance.
Step 3: Gather Tools, Measure Gaps, and Prepare Surfaces
Careful measurements and a clean mounting surface help you get started with weatherstripping. Save a short sample of the old seal so you can compare its profile with the replacement.
Gather a tape measure, scissors, utility knife, cleaning cloths, mild cleaner, and a plastic scraper. Screw-mounted products also require a screwdriver or drill. Metal carriers might require a hacksaw and file. Wear eye protection when cutting or drilling.
- Measure each sealing edge separately. Record the top, sides, and bottom where applicable.
- Check the closed gap at several points. Use the manufacturer’s sizing method or gap gauges. A protected piece of soft modeling clay helps reveal compression clearance.
- Remove failed material. Pull fitted seals gently from their channels and scrape away old adhesive without gouging the surface.
- Repair the mounting area. Address loose hardware, damaged wood, and peeling finishes before proceeding.
- Clean and dry thoroughly. Follow the adhesive maker’s instructions for cleaner compatibility and application temperature.
- Dry-fit a short sample. Close and latch the opening to check compression before installing a full length.
Adhesive foam tape needs firm contact with a stable finish. Apply adhesive-backed foam without stretching it, and follow the package’s bonding time before heavy use. For older painted surfaces, check for lead-paint risks before scraping or sanding.
Step 4: Seal Window Sashes Without Blocking Movement
Window seals should close air gaps while allowing full sash travel and secure locking. For modern windows, we recommend starting with a replacement that matches the original weatherstrip.
For double-hung windows:
- Open each sash and clean accessible sealing surfaces.
- Fit compatible V-strip along the sash channels where the design allows it.
- Apply compression weatherstripping at the lower sash’s bottom and the upper sash’s top.
- Inspect the meeting rails where the window sashes overlap. Replace the existing seal with a matching profile.
- Close both sashes and engage the lock to confirm even contact.
For sliding windows, clean the window tracks and replace worn pile seals in their intended channels. Check the vertical closing edge and the overlapping meeting stiles. Keep adhesive foam out of running surfaces where rollers or sliding parts travel.
For casement windows, replace the perimeter gasket with the specified profile. Seat it fully in its groove, keeping it relaxed as you work around corners. Close the sash with the handle and check that the locking hardware pulls it evenly against the seal.
Keep weep holes and drainage paths open. Check that any emergency escape window opens fully after the work is complete.
Step 5: Seal the Top and Sides of Exterior Doors
A continuous compression seal along the header and door jambs closes gaps around an exterior door’s top and sides. Tighten loose hinges and check door alignment before fitting the new material.
To seal gaps around doors:
- Identify the mounting style. A kerf-in seal has a barbed edge that presses into an existing groove. Surface-mounted seals attach to the doorstop.
- Cut each length to fit. Follow the product’s corner instructions so adjoining pieces meet without an opening.
- Install the header seal. Press kerf-in material fully into its slot, or position a surface-mounted carrier against the closed door.
- Fit both side seals. Keep contact even from top to bottom. Tubular weatherstripping should compress gently along its length.
- Test before tightening adjustable carriers. Close and latch the door, then secure the fasteners after checking the fit.
Magnetic weather stripping requires a compatible door and correct profile. Check that the gasket contacts the intended surface around the full perimeter.
The latch should engage without slamming. If the door binds after installation, check seal thickness and carrier position before changing the strike plate. Keep flexible sealing faces free of paint.
Step 6: Install a Door Sweep and Adjust the Threshold
A door sweep or compatible replacement bottom seal closes the gap between the door and threshold. Inspect existing door bottoms first, since some use replaceable inserts that fit a specific track.
For a surface-mounted sweep:
- Measure the door width and cut the sweep according to its instructions.
- Smooth any sharp edges on a cut metal carrier.
- Hold the sweep against the closed door so its flexible edge contacts the threshold evenly.
- Mark the mounting holes and drill pilot holes where required.
- Attach it loosely, adjust the height, and tighten the screws.
- Open the door through its full swing to check floor clearance.
Door sweeps should maintain contact when closed without folding under or dragging heavily. Follow the product’s mounting directions for your door’s swing and exposure.
If the threshold has an adjustable cap, make small changes using its adjustment screws, then retest the door. Stop when the bottom seal makes light, continuous contact and the latch works easily. Fixed thresholds require a correctly sized seal or repair.
Get professional help for a rotted sill, loose threshold, or water intrusion. A sweep addresses the closing gap; those defects require work on the underlying assembly.
Step 7: Test the Seals and Fix Remaining Drafts
Testing confirms that the new weather stripping reduces air leakage while preserving normal operation. Check every repaired edge after the adhesive has bonded as directed.
- Repeat the tissue test at the marked leak locations.
- Use the paper test around compression seals to compare contact.
- Look for light at exterior door edges.
- Open, close, and lock each window or door several times.
- Inspect corners for curled ends or gaps between pieces.
If a draft remains, check whether the strip is too thin, partly detached, or sitting outside the contact area. Excessive closing force points to an oversized profile or poor positioning. Adjust the fit before adding another layer.
Air leakage behind trim needs separate attention. Sealing behind window and door trim is a moderate to difficult DIY project. Hire help when the repair requires removing delicate trim or exposing concealed gaps.
Keep indoor air quality in view during broader air sealing. Leave intentional vents open and maintain bathroom and kitchen exhaust systems. If you plan extensive tightening in a home with fuel-burning appliances, arrange an assessment that includes ventilation and combustion safety.
What Does Weatherstripping Cost, and How Much Can You Save?
Basic weatherstripping has a modest material cost, while professional pricing rises with removal work and repairs. Price the full job, including door sweeps and any damaged mounting surfaces.
Foam tape materials run about $0.16 to $0.25 per linear foot. The same cost figures put professional installation at $35 to $90 per door and $5 to $10 per window. Treat these as planning figures; minimum service charges and local labor rates affect small jobs.
Energy savings depend on how much outside air was passing through the repaired gaps. Climate, thermostat settings, and utility rates also affect the change in energy costs.
Sealing air leaks throughout a home and adding insulation provide up to 10% savings on annual energy bills. That figure covers a broader package of improvements. It does not establish a savings percentage for weatherstripping alone.
Judge the immediate result by reduced drafts and proper seal contact. To track changes in heating and cooling costs, compare energy use across periods with similar weather and account for rate changes.
When Should You Inspect and Replace Weatherstripping?
Inspect weatherstripping before heating season and check exposed or heavily used openings again before summer. Replace material when it loses flexibility or stops making continuous contact.
Look for these signs:
- Cracks, tears, or missing sections.
- Foam weatherstripping that stays flattened after opening.
- Adhesive edges that lift from the frame.
- Pile seals with worn or missing fibers.
- Door sweeps with split blades or uneven contact.
- Drafts that return along a previously sealed edge.
Clean seals with a mild, compatible cleaner and remove grit from tracks. Check hinges and latches during the same inspection, since loose hardware changes how the opening meets its gasket.
Replace weatherstripping based on its condition. A damaged section needs attention as soon as it fails, while a flexible seal with consistent contact can remain in service. If one area keeps wearing out, correct the rubbing or alignment problem before fitting another strip.
Keep Your Seals Tight for Year-Round Savings
Well-fitted seals help prevent drafts and support energy efficiency in both heating and cooling seasons. Start with confirmed leaks, match the seal to the opening, and check that it moves freely after each repair.
For lasting energy savings, keep tracks clean and replace failed sections promptly. Add a seal check to your seasonal maintenance routine, including at the corners and door bottom, where small gaps are easy to miss.
Frequently Asked Questions
Before installing weatherstripping, check that it is compatible with the finish and suitable for the window’s condition. These checks help you avoid damage and direct air-sealing work to the right problem.
Can you paint weather stripping?
Keep paint off flexible weather stripping so it can bend and compress freely. Paint a rigid mounting carrier only if the manufacturer allows it, and protect the gasket while painting.
Can renters install weatherstripping?
Renters should get permission before drilling, changing fitted seals, or applying adhesive to finished surfaces. Show the landlord where leaks occur and request a repair or an approved removable product.
Will weatherstripping fix fog between window panes?
Weatherstripping will not repair fog trapped between the panes of an insulated glass unit. Have the glass unit assessed, since that moisture points to a separate glazing-seal problem.
Can you install adhesive weatherstripping in cold weather?
Adhesive weatherstripping requires the surface temperature listed on its package. If you can’t meet that temperature, wait for suitable conditions or choose an approved mechanically attached seal.
Ashley Wells

Your trusted source for product reviews, decor inspiration, and expert tips. Ashley Wells helps you make informed choices and elevate your lifestyle. Discover the best products and decor solutions for your home. Follow Ashley Wells for the latest reviews and trends. Create your ultimate living spaces with her.