We recommend deep cleaning outdoor patio cushions by checking the care label, removing loose dirt, treating stains, washing with an approved mild cleaner, rinsing carefully, and air-drying the fabric and filling completely. For water-cleanable cushions, gentle cleaning removes built-up grime while limiting damage to the fabric and its protective finish.
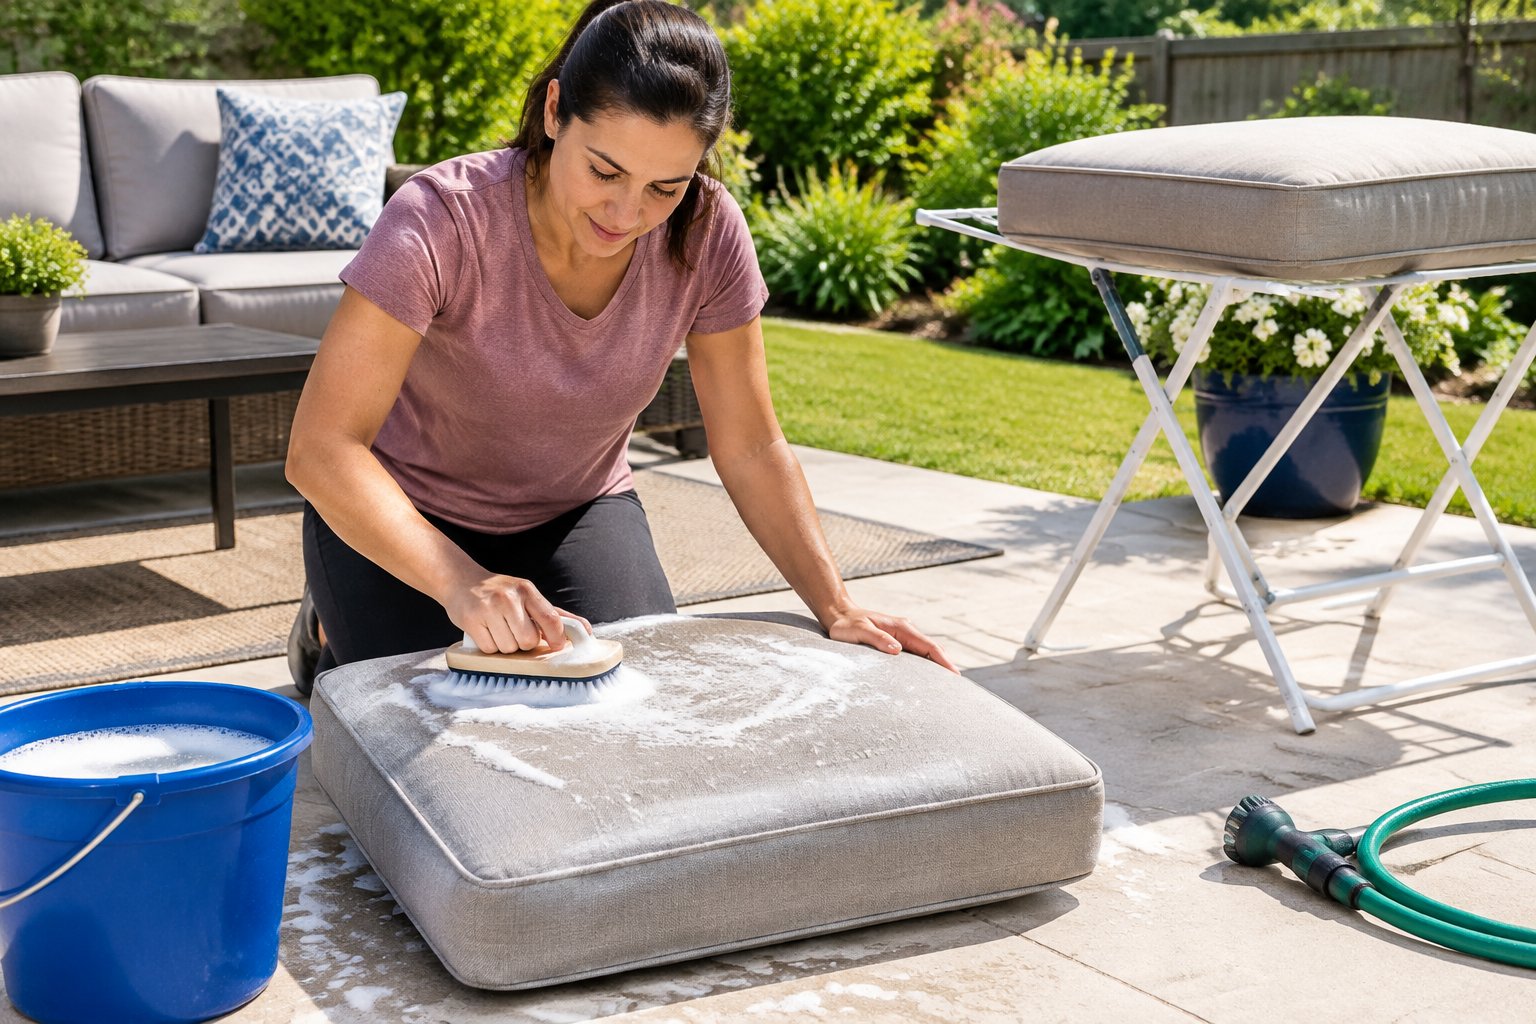
Outdoor cushions collect sunscreen, pollen, food spills, and moisture around seams. The challenge is to clean the fabric without leaving soap or trapped water inside. Our approach to how to clean outdoor cushions starts with separating washable covers from inserts whenever the manufacturer permits it.
Choose a dry-weather window before starting. Thick cushions need enough drying space for air to reach both sides. A dry surface alone does not confirm that the filling is ready for storage.
Step 1: Check Care Labels Before Choosing a Cleaning Method
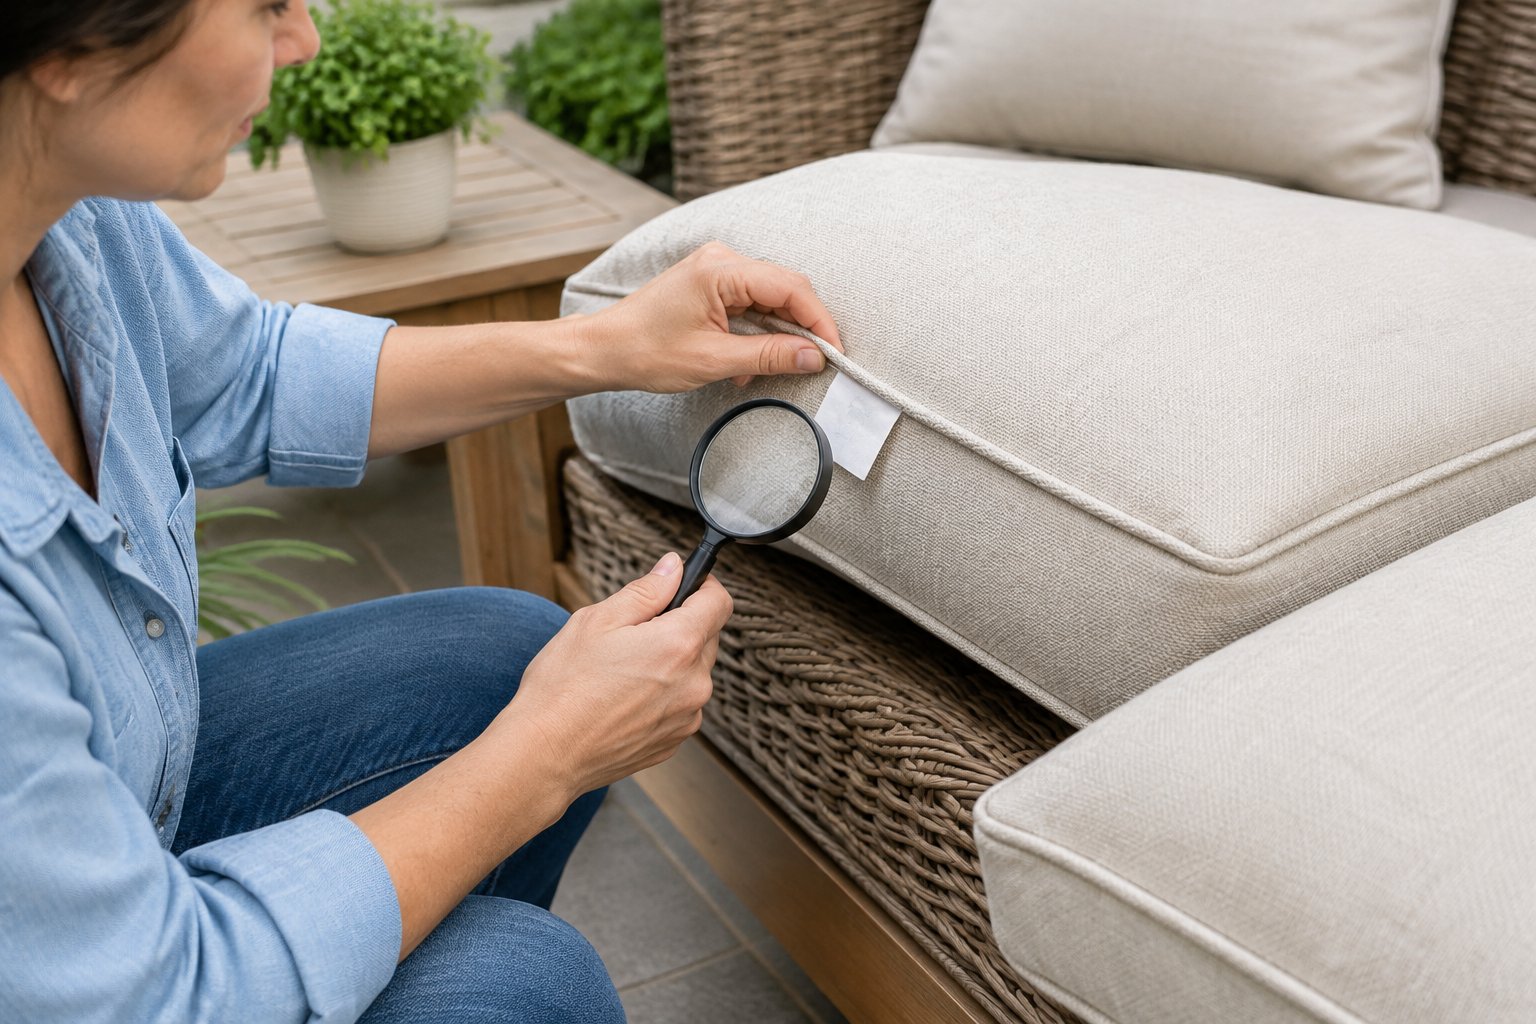
We start with the care label because it shows which cleaning methods the cover and filling can tolerate. Look underneath the cushion or inside a zippered seam. Check the manufacturer’s care instructions for any missing details.
Sort your cushions into the appropriate cleaning route:
- Removable, machine-washable covers: Follow the stated cycle, water temperature, and detergent instructions.
- Removable, hand-wash-only covers: Wash separately using the approved method.
- Fixed covers approved for water cleaning: Clean in place with controlled moisture.
- Solvent-clean-only or professional-clean-only cushions: Follow that restriction.
- Vacuum-only cushions: Keep wet cleaning products off the fabric.
A zipper does not mean that outdoor cushion covers are machine washable. Some zippers provide access for assembly or filling replacement.
Check the insert’s instructions separately. Keep foam and other filling out of the washer unless its own care directions permit machine washing. If the label is missing, ask the manufacturer before wet cleaning.
Step 2: Gather Supplies and Mix a Fabric-Safe Cleaning Solution
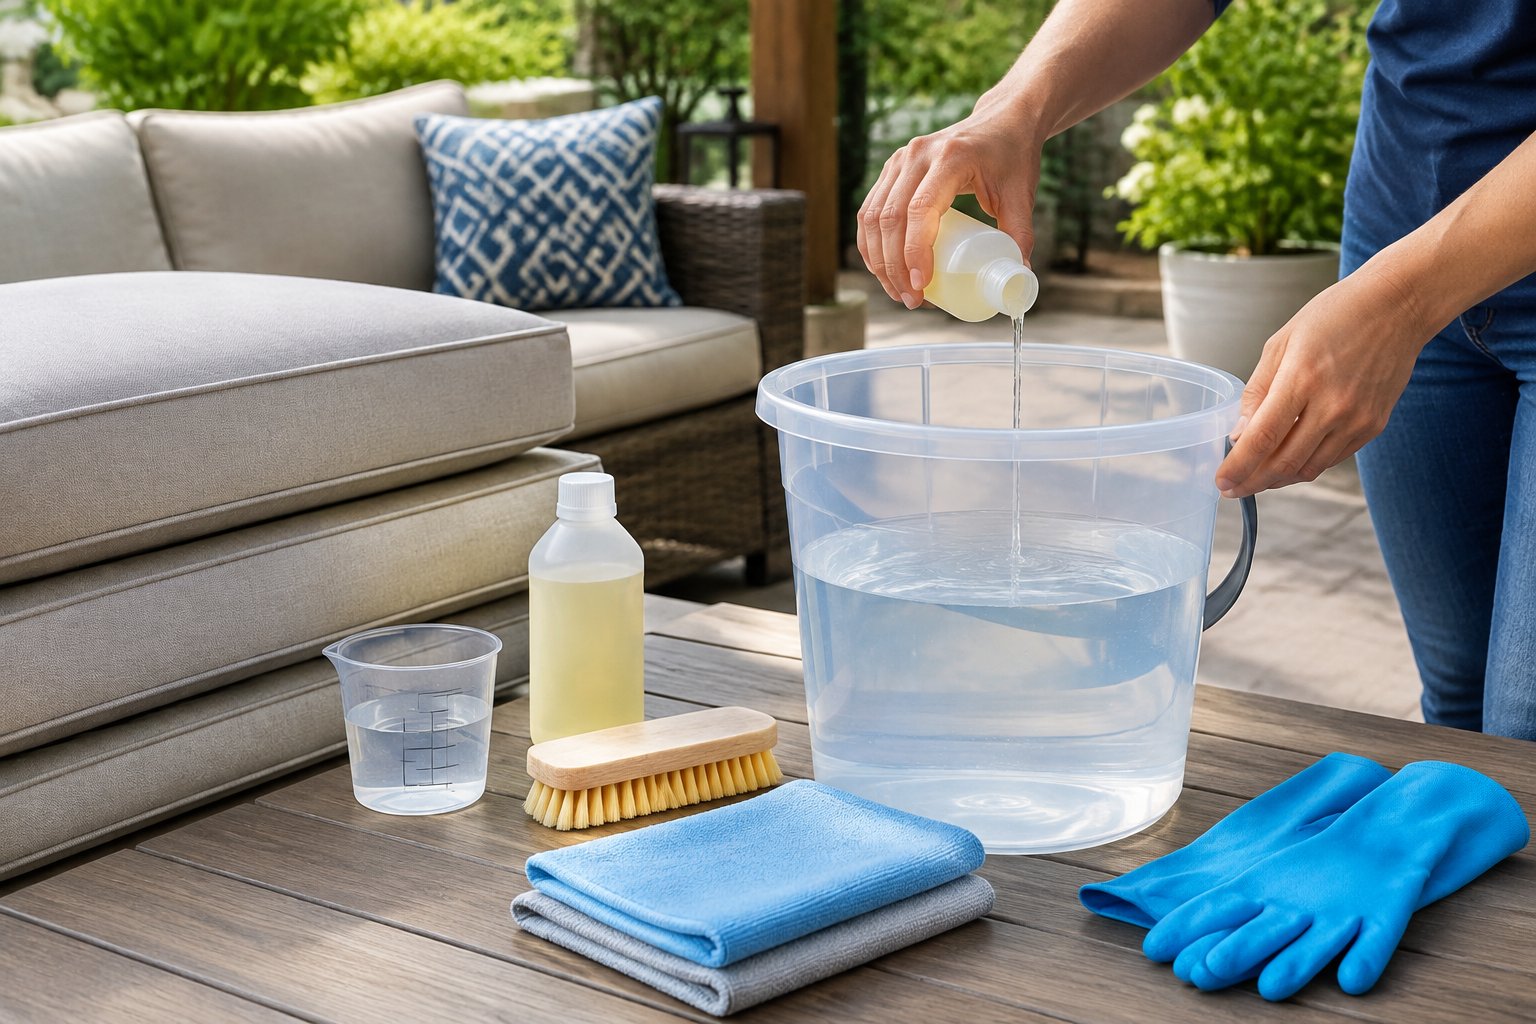
For water-cleanable fabric, we recommend starting with a mild cleaning solution approved by the cushion manufacturer. Stronger mixtures take more work to rinse away.
Gather these supplies before starting:
- Vacuum with an upholstery attachment
- Soft-bristle brush or soft sponge
- Bucket and clean water
- Manufacturer-approved mild soap or detergent
- Clean white cloths and absorbent towels
- Garden hose with a gentle spray setting, if rinsing is permitted
- Clean tarp or washable work surface
- Gloves appropriate for the cleaner
When the care instructions allow mild soap but do not specify a recipe, a common starting mixture is ¼ cup mild soap per gallon of lukewarm water. Use mild dish soap only if it is suitable for the fabric. Follow any more specific manufacturer dilution.
Keep dish soap out of washing machines; machine-washable covers need the approved laundry detergent. Products sold as all-purpose cleaners also need explicit fabric compatibility before use on upholstery.
Test your mixture on a hidden area. Let the test patch dry, then check for color transfer, stiffness, or a change in finish before treating the cushion.
Step 3: Vacuum Loose Dirt and Prepare a Clean Work Area
We recommend removing ordinary dry debris before adding water. This keeps loose soil out of the fabric weave. Move cushions off the patio furniture and place them on a clean table, rinsed patio, or clean tarp.
Use an upholstery attachment to vacuum both faces and the edges. A crevice tool helps reach piping, zipper channels, and button indentations. Among vacuum cleaners, choose a setup with suction and attachments suitable for the fabric. Avoid a rotating floor brush on delicate upholstery.
Follow this preparation order:
- Lift off leaves and larger debris.
- Vacuum ordinary dust, crumbs, and pet hair.
- Inspect seams for damage before scrubbing.
- Wipe the furniture frame so clean cushions will return to a clean surface.
Keep visibly moldy cushions separate and follow the next step before disturbing the affected areas. Aggressive dry brushing or routine vacuuming of visible growth spreads particles into the air.
Choose a work area where cleaning runoff will stay away from plants and storm drains. Keep electrical cords and ordinary household vacuums clear of the wet washing area.
Step 4: Pretreat Stains and Address Mold or Mildew Safely
We treat stains with the least aggressive approved cleaning solution before washing the full cover. Lift solid residue gently, then blot liquids with a white cloth. Work from the outside of the mark toward the center.
Match the treatment to the stain:
- Food grease or sunscreen: Blot excess oil, then apply a fabric-approved detergent or stain treatment.
- Juice or coffee: Blot promptly and apply the tested mild solution.
- Dried mud: Let ordinary mud dry, lift loose material, and treat the remaining mark.
- Bird droppings: Wear gloves, dampen dried deposits, and lift them gently.
- Tree sap: Remove loose excess carefully and ask the manufacturer about a compatible treatment.
Follow the cleaner’s stated contact time and keep it from drying on the surface. Use gentle agitation where the fabric instructions allow it.
For suspected mold or mildew, separate the cushion and inspect the insert if accessible. Work outdoors, wear gloves, and use eye protection and a well-fitting N95 when disturbing moldy material.
Use bleach only when the fabric manufacturer explicitly approves the dilution and treatment method. Never mix bleach with vinegar, ammonia, or other cleaners. Widespread growth inside porous filling or a persistent musty odor calls for professional advice or replacement of the affected insert.
Step 5: Wash Removable Covers or Gently Scrub Fixed Covers
We clean removable outdoor cushion covers separately whenever their care instructions allow it. This keeps the filling dry. Ease each cover off without tugging at corners, and note the insert’s orientation for reassembly.
For machine-washable covers:
- Remove accessories that are not approved for washing.
- Secure zippers or fasteners as directed.
- Load covers loosely so water moves through the fabric.
- Use the specified detergent, cycle, and water temperature.
- Check treated stains before drying.
For hand-wash-only covers: Use the approved solution and temperature. Move the fabric gently through the water, or clean with a sponge if instructed. Follow spot-clean-only restrictions and keep those covers out of a soaking tub.
For fixed covers: Apply solution with a damp sponge or cloth, working across manageable areas. Gently loosen soil with a soft brush if permitted, including along seams and piping. Replace dirty solution as you work.
When you deep clean outdoor cushions with fixed covers, keep liquid application controlled. Pouring a bucket over the cushion drives moisture into filling that is difficult to inspect or dry.
Step 6: Rinse Away Soap Without Saturating the Filling
Our rinsing goal is to remove cleaner thoroughly while keeping water exposure within the cushion’s care limits. Residual soap leaves fabric stiff and attracts fresh dirt.
For hose-rinseable cushions, use a gentle spray and work across the surface in controlled passes. Turn the cushion to rinse edges and the underside, allowing runoff to drain away. Keep pressure washers off cushion fabric because forceful spray damages fibers and seams.
For spot-clean-only upholstery, use repeated passes with a clean damp cloth. Rinse the cloth frequently and replace the water as it becomes soapy. Continue until fresh passes lift no visible cleaner.
If the manufacturer permits liquid extraction, use equipment approved for both wet pickup and the fabric. A wet/dry vacuum requires the correct wet-pickup setup and a suitable attachment. Follow its instructions before collecting moisture. Keep ordinary dry-only vacuums away from wet outdoor cushions.
Check the fabric by pressing it with a clean damp cloth. Persistent foam or a slippery feel calls for more controlled rinsing.
Step 7: Press Out Excess Water and Air-Dry Completely
We recommend gentle pressing followed by open-air drying until both the cover and filling are dry. Twisting a cushion strains seams and distorts its shape.
Start removing moisture as soon as rinsing is complete:
- Press the cushion gently with flat hands.
- Blot each face with clean, absorbent towels.
- Stand the cushion on an edge on a clean rack or draining surface.
- Leave space between cushions for airflow.
- Rotate them periodically so the lower edge gets air.
Support removable covers as their labels direct. Keep them out of a heated dryer unless tumble drying is expressly permitted.
Choose a breezy, rain-protected location. Use sunlight only within the fabric’s care guidance, since prolonged exposure fades some materials. A fan in a suitable dry location helps move air around damp surfaces.
Check seams, piping, and the lowest edge before reassembly. Press a dry towel firmly against several areas; moisture transfer means more drying is needed. If the insert became wet, inspect it through the zipper opening where possible and allow extra time before covering or storing.
How Can You Protect Cushions Between Deep Cleanings?
We recommend prompt spill cleanup and dry, ventilated storage to reduce buildup between washes. Remove ordinary surface debris regularly, especially during heavy pollen season or frequent outdoor use.
Blot spills as soon as they happen and clean small marks with the approved method. Wipe patio furniture frames before replacing cushions so dirty rails or damp surfaces do not transfer grime back onto the fabric.
For added protection:
- Bring cushions into a dry sheltered space before prolonged rain.
- Use breathable furniture covers that fit securely.
- Store cushions only after all parts are dry.
- Keep stored cushions raised away from damp floors.
- Inspect seams and zippers before small damage spreads.
Apply a fabric protector spray only if the cushion manufacturer approves it for that fabric and finish. Begin with clean, fully dry cushions, test a hidden patch, and follow the product’s ventilation and curing instructions.
A protective treatment does not make every cushion waterproof. Continue checking for trapped moisture after rain and before putting furniture covers back on.
Frequently Asked Questions
We use the cushion’s care instructions to answer questions about cleaning frequency and equipment. These answers address decisions that come up beyond the washing steps.
How often should you deep clean outdoor cushions?
We recommend a thorough clean before seasonal storage and an inspection when cushions come back into use. Add a midseason cleaning when visible grime or heavy use calls for it, while treating individual spills promptly.
How long do outdoor cushions take to dry?
Outdoor cushions need enough time for the interior to dry. Thick or saturated filling sometimes takes longer than a day. We recommend checking the insert and lower seams instead of relying on a fixed drying schedule.
Is steam cleaning suitable for outdoor cushion covers?
We recommend steam cleaning only when the cushion manufacturer permits it. Heat and moisture affect some coatings, fabrics, and fillings, so confirm compatibility with both the cushion instructions and the equipment directions.
Will deep cleaning restore faded cushion fabric?
Deep cleaning removes soil but does not restore dye lost through fading. Judge the color after the fabric dries, since wet material looks darker and can temporarily hide wear.
Ashley Wells

Your trusted source for product reviews, decor inspiration, and expert tips. Ashley Wells helps you make informed choices and elevate your lifestyle. Discover the best products and decor solutions for your home. Follow Ashley Wells for the latest reviews and trends. Create your ultimate living spaces with her.