
Our approach to cleaning and sanitizing a baby bath seat safely is to wash it with mild soap and water, rinse thoroughly, then sanitize or disinfect only when needed with a product approved for the seat’s materials. Follow the product’s full contact time and rinsing directions. Let every part dry completely before reuse.
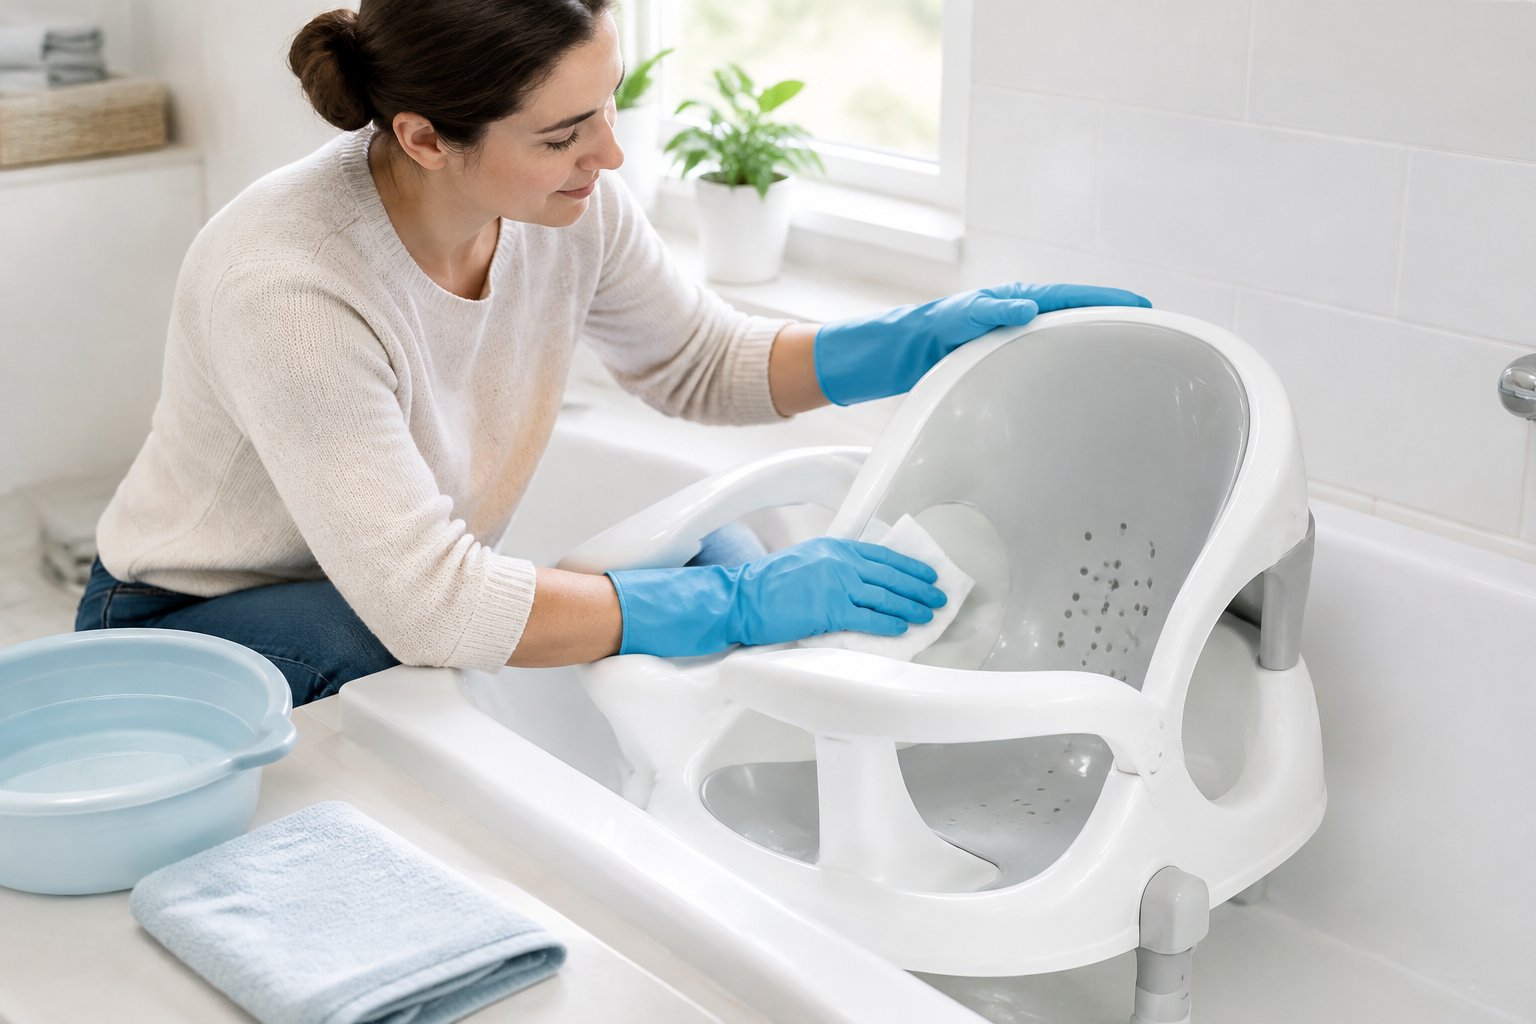
Soap film collects beneath suction cups and inside joints, where a quick rinse can miss it. We recommend cleaning the empty seat after each bath, with your baby safely away from the cleaning area. A clean seat still requires constant, hands-on adult supervision during bathing.
Step 1: Check the Care Instructions and Gather Your Supplies
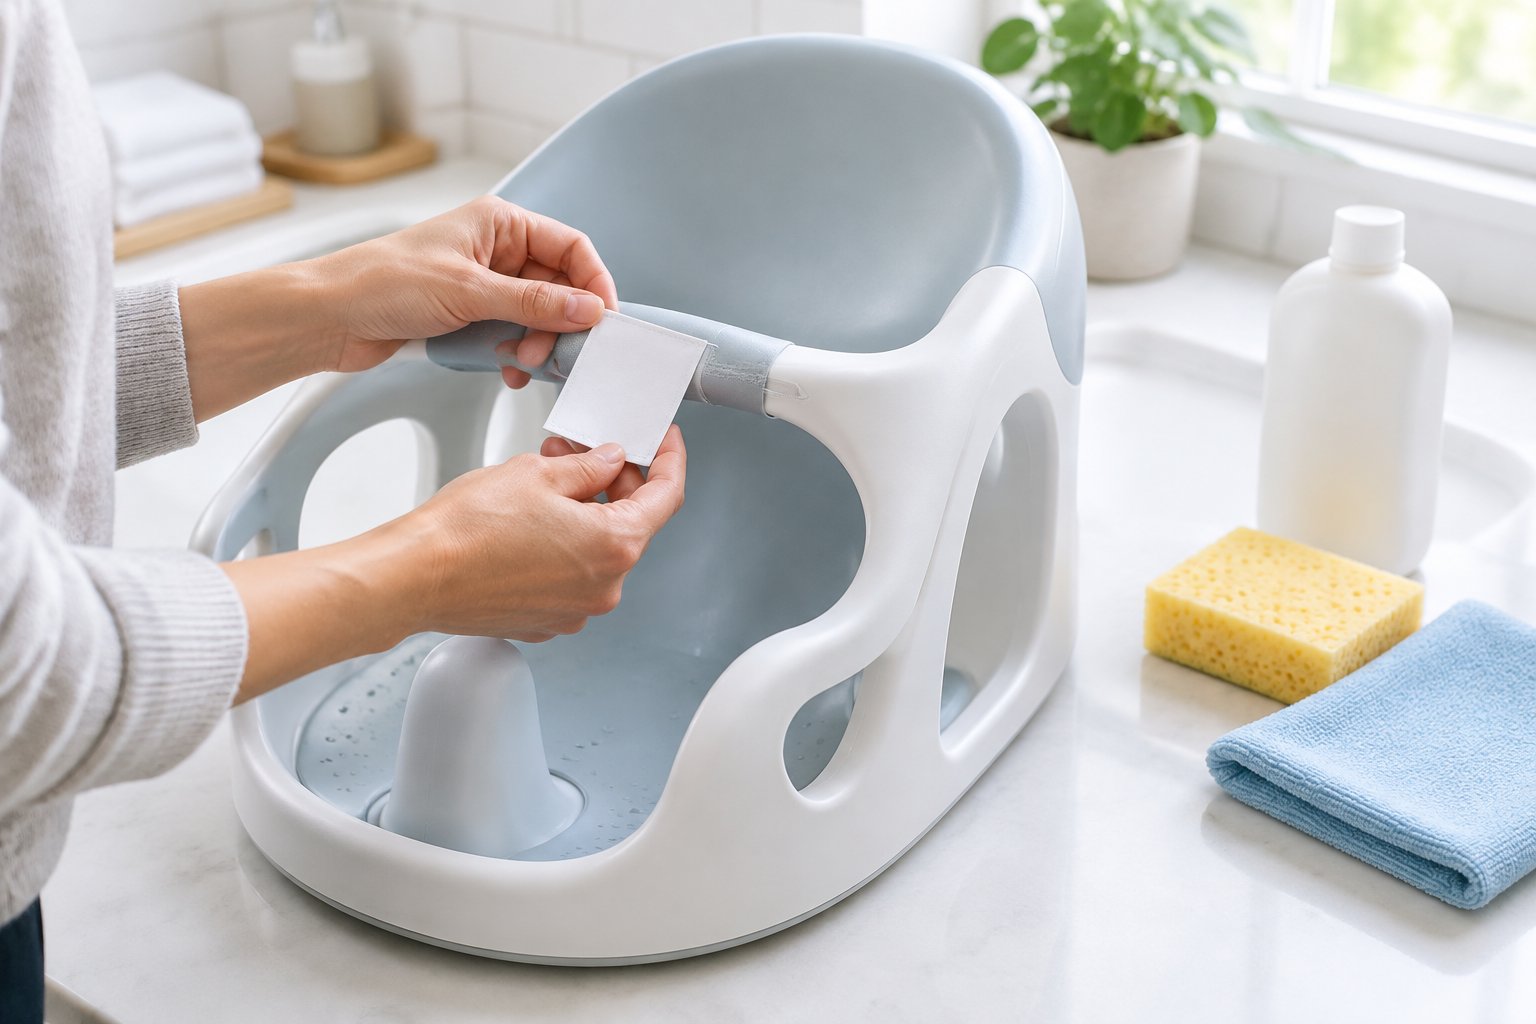
The seat’s care instructions determine which cleaning methods and products to use. Check the manual or manufacturer’s care label for rules about soaking, removable padding, and chemical use.
Gather these supplies before you begin:
- Mild soap suitable for the seat’s materials
- Warm water
- A soft cloth or nonabrasive sponge
- A small, soft-bristled brush
- A clean towel or drying rack
- Gloves and a compatible sanitizer or disinfectant, if needed
We recommend checking the restrictions for each material separately. A plastic shell, foam insert, and rubber suction cup might have different care requirements.
Keep the work area ventilated and cleaning supplies out of children’s reach. If you are choosing among all-purpose cleaners, check the label carefully. Cleaning claims alone do not establish that a product sanitizes or disinfects.
Step 2: Remove Detachable Parts and Scrub the Seat
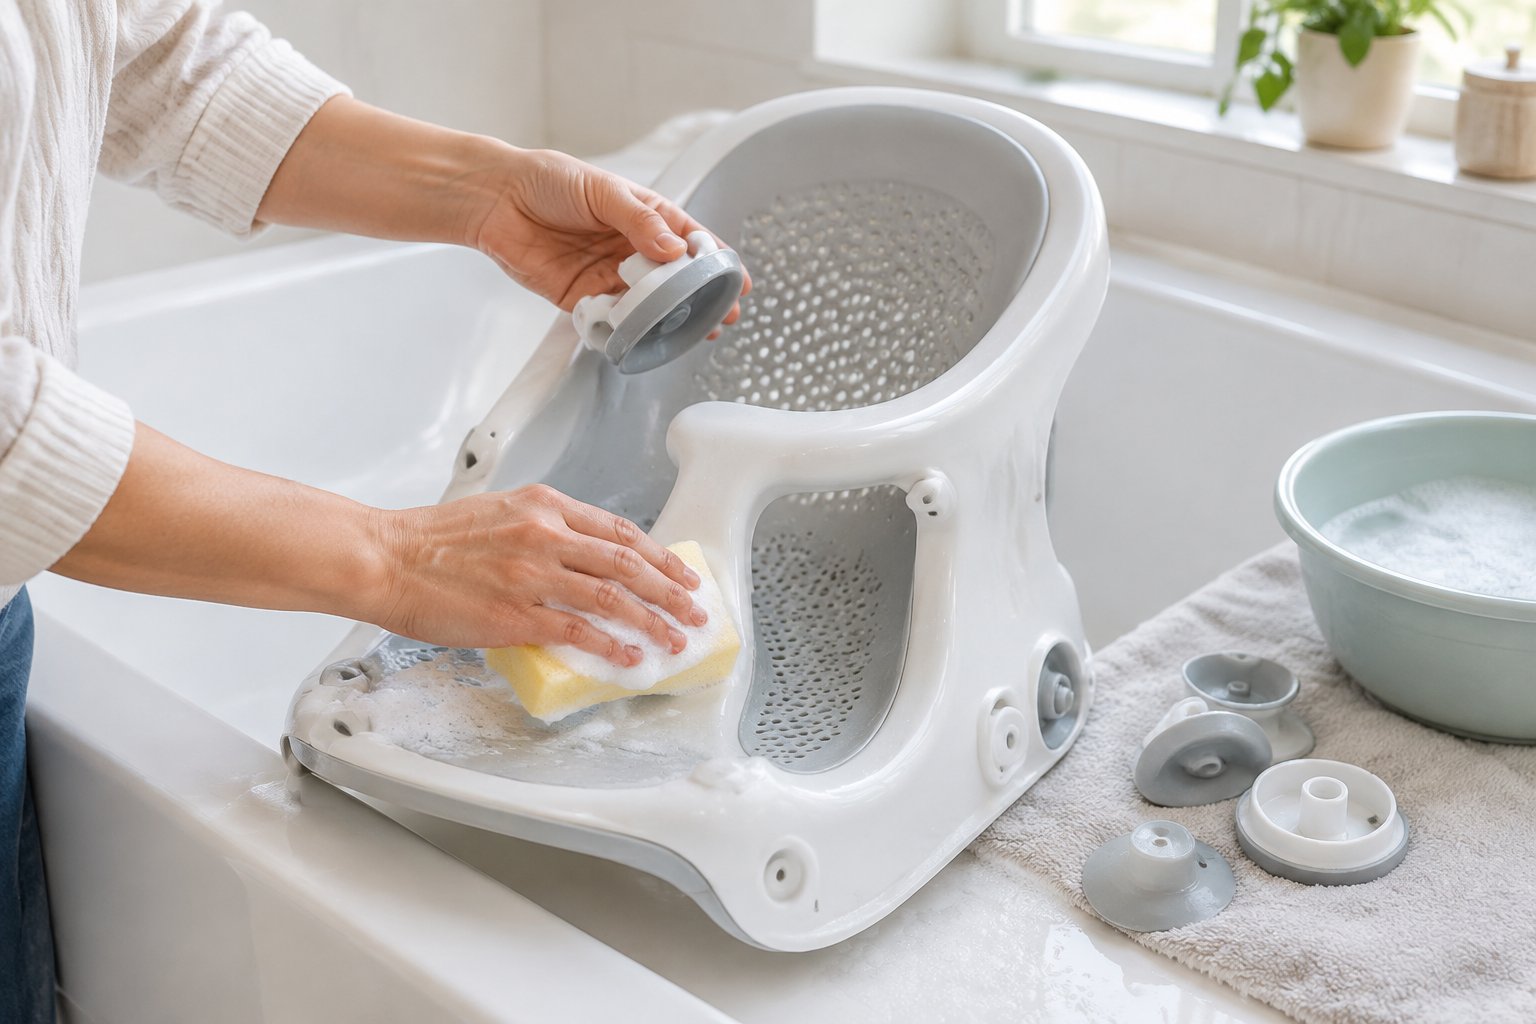
Remove only the parts the manufacturer identifies as detachable. Then scrub accessible surfaces with mild soap and warm water. Take a photo before disassembly if the attachment points are easy to confuse.
- Release approved removable pieces, such as an insert or tray.
- Wet a soft cloth or sponge with soapy water.
- Scrub the seating surface and back support.
- Turn the empty seat over and clean its underside.
- Wash detached pieces using their individual care instructions.
Use gentle pressure around labels and moving parts. Abrasive pads and stiff brushes can scratch surfaces or damage flexible materials.
Our recommendation is to keep cleaning water out of enclosed components that the manual says to keep dry. Leave fixed screws, sealed joints, and glued padding in place unless the manufacturer gives removal instructions.
Step 3: Clean Seams, Drainage Holes, and Suction Cups
A small, soft brush helps remove buildup from narrow spaces a sponge cannot reach. Work around seams and attachment points while the surfaces are wet with soapy water.
Pay particular attention to:
- Drainage holes and their edges
- The underside of the seat
- Hinges and approved removable-part sockets
- Suction cup rims and the surfaces beneath them
We recommend brushing from several angles to move debris out of gaps. Avoid sharp tools, which can cut rubber or widen openings.
Release suction cups using the manufacturer’s method, then clean each cup’s underside. If residue remains trapped inside an inaccessible joint, ask the manufacturer how to clean it before continuing to use the seat.
Step 4: Rinse Away Soap and Loosened Debris
Rinse every washed surface with fresh water until soap and loosened dirt are gone. Direct water through drainage holes and around the edges of removable components.
Turn the seat as you rinse so water reaches its underside. For parts that cannot be submerged, use a fresh damp cloth and rinse the cloth repeatedly.
Our practical check is to inspect under bright light for remaining film or trapped debris. If an area still feels soapy or looks dirty, wash and rinse it again before applying any sanitizer or disinfectant.
Keep rinsed parts on a clean surface. A used bath towel or dirty sink can transfer residue back onto them.
Step 5: Decide Whether Sanitizing or Disinfecting Is Needed
Routine home care starts with thorough cleaning. Add sanitizing or disinfecting when circumstances call for it. We use these distinctions when recommending the next step:
- Cleaning removes dirt and many germs through washing and scrubbing.
- Sanitizing reduces germs on a clean surface.
- Disinfecting kills remaining germs using a product labeled for that purpose.
For home surfaces, daily sanitizing may be unnecessary when objects are cleaned carefully after use. Illness in the household or a weakened immune system calls for added attention to disinfection.
If stool or vomit contaminates the bath, first move your baby safely out of the water. Wear gloves, remove the waste, and clean affected surfaces before disinfecting them with a compatible product.
For a child with special medical needs, ask their pediatrician about added precautions. Child care settings should follow their required cleaning procedures.
Step 6: Apply a Compatible Product and Follow Its Contact Time and Rinsing Directions
Use a sanitizer or disinfectant only when both its label and the seat manufacturer’s instructions permit it. For disinfection, the surface must stay wet throughout the labeled contact time.
We recommend following this sequence:
- Confirm that the product is suitable for the seat’s surface and intended use.
- Put on any protective equipment required by the label.
- Prepare the product exactly as directed.
- Apply it evenly to the cleaned surfaces.
- Keep those surfaces wet for the full contact time.
- Complete any required rinse before drying.
A diluted bleach solution is an option only if the seat manufacturer permits bleach. Use the bleach label’s dilution for the intended task. Sanitizing and disinfecting require different directions. Measure carefully, and follow instructions for water temperature and how long the mixture remains usable.
Never mix bleach with vinegar, ammonia, or any other cleaner. Use products with your baby away from the area, and maintain fresh airflow.
Rinsing requirements vary by product and use. Choose a product whose directions suit the seat’s skin-contact surfaces and any parts your baby mouths. If the product label and seat instructions conflict, contact the manufacturer for a compatible option.
Step 7: Dry Completely, Reassemble, and Check for Damage
Allow every component to dry fully before reassembly or storage. Set the parts on a clean rack or towel with openings positioned so trapped water drains out.
Check beneath padding and around suction cups before putting the seat back together. We recommend room-temperature air-drying unless the manual allows another method. Hair dryers and other direct heat can damage materials.
Reattach each approved removable part exactly as instructed. Inspect the assembled seat for:
- Cracks or rough edges
- Loose fittings or faulty locks
- Torn or peeling padding
- Split, stiff, or misshapen suction cups
- Persistent slime, mold, or musty odor
Stop using the seat if damage affects its support or attachment. Avoid glue repairs and improvised replacement parts. Ask the manufacturer about approved repairs or replacement.
How Often Should You Clean the Seat, and When Should You Replace It?
We recommend washing the seat after every bath and checking its condition before each use. Bath water leaves behind body oils and soap residue, even when the seat looks clean.
For a manageable routine:
- After each bath: Wash, rinse, drain, and air-dry the seat.
- Whenever visibly dirty: Clean it promptly.
- After contamination or relevant illness: Clean and then disinfect as appropriate.
- Before each use: Check attachments and confirm that your baby still meets the manufacturer’s use limits.
Replace the seat when damaged safety components cannot be restored with approved parts, or when mold remains in areas you cannot reach and clean. Stop using it when your baby exceeds any listed developmental, size, or weight limit.
Our recommendation for replacement baby bathtubs is to match the product to your child’s current stage and follow its support requirements. Check the exact model for recalls before using new or secondhand bath equipment.
How Should You Clean Bath Toys Used Alongside the Seat?
Clean bath toys separately so trapped water and debris do not soil the freshly washed seat. Our advice on how to clean baby toys starts with each toy’s material and care label.
Wash suitable toys with soap and water, scrub accessible openings, and rinse thoroughly. Empty hollow toys after each bath and place them where air circulates around them.
To sanitize baby toys that your child mouths, use a method approved for the toy and follow the sanitizer’s directions for mouth-contact items. Keep electrical components dry unless the toy’s instructions explicitly allow immersion.
We favor toys that open for cleaning or drain completely. Discard toys with inaccessible mold, deteriorating surfaces, or loose pieces. Store dry toys in a ventilated container away from standing bath water.
Keep the Seat Clean, Dry, and Ready for Supervised Baths
Our recommended routine is to clean after use, apply compatible sanitizing or disinfecting products when needed, and dry the seat completely. A bath seat does not replace adult supervision.
Before each bath, check the seat’s condition and installation, then gather bathing supplies within reach. Keep your baby within arm’s reach throughout the bath, and take your baby with you if you need to leave.
Frequently Asked Questions
We recommend resolving product-specific questions before trying a new cleaning method. The answers below address common shortcuts that need extra care.
Does vinegar sanitize a baby bath seat?
Vinegar is not a reliable sanitizer or disinfectant for a baby bath seat. We recommend a compatible product labeled for the required task. Never combine vinegar with bleach.
Can you put a baby bath seat in the dishwasher?
Use a dishwasher only when the seat manufacturer explicitly permits it. Our recommendation is to check the allowed cycle and rack placement because heat and detergent can damage parts that require hand-washing.
Are baby wipes enough to clean the seat?
Baby wipes are not enough to remove buildup or disinfect a bath seat. Use soap and water for routine cleaning, and a compatible sanitizer or disinfectant when needed.
Ashley Wells

Your trusted source for product reviews, decor inspiration, and expert tips. Ashley Wells helps you make informed choices and elevate your lifestyle. Discover the best products and decor solutions for your home. Follow Ashley Wells for the latest reviews and trends. Create your ultimate living spaces with her.