
To restore and seal a weather-worn wooden deck, we recommend checking its structure, repairing damaged wood, removing dirt and failing finish, brightening and drying the surface, then applying a compatible exterior deck stain or sealer. Careful preparation gives the finish an even surface to penetrate or bond to.
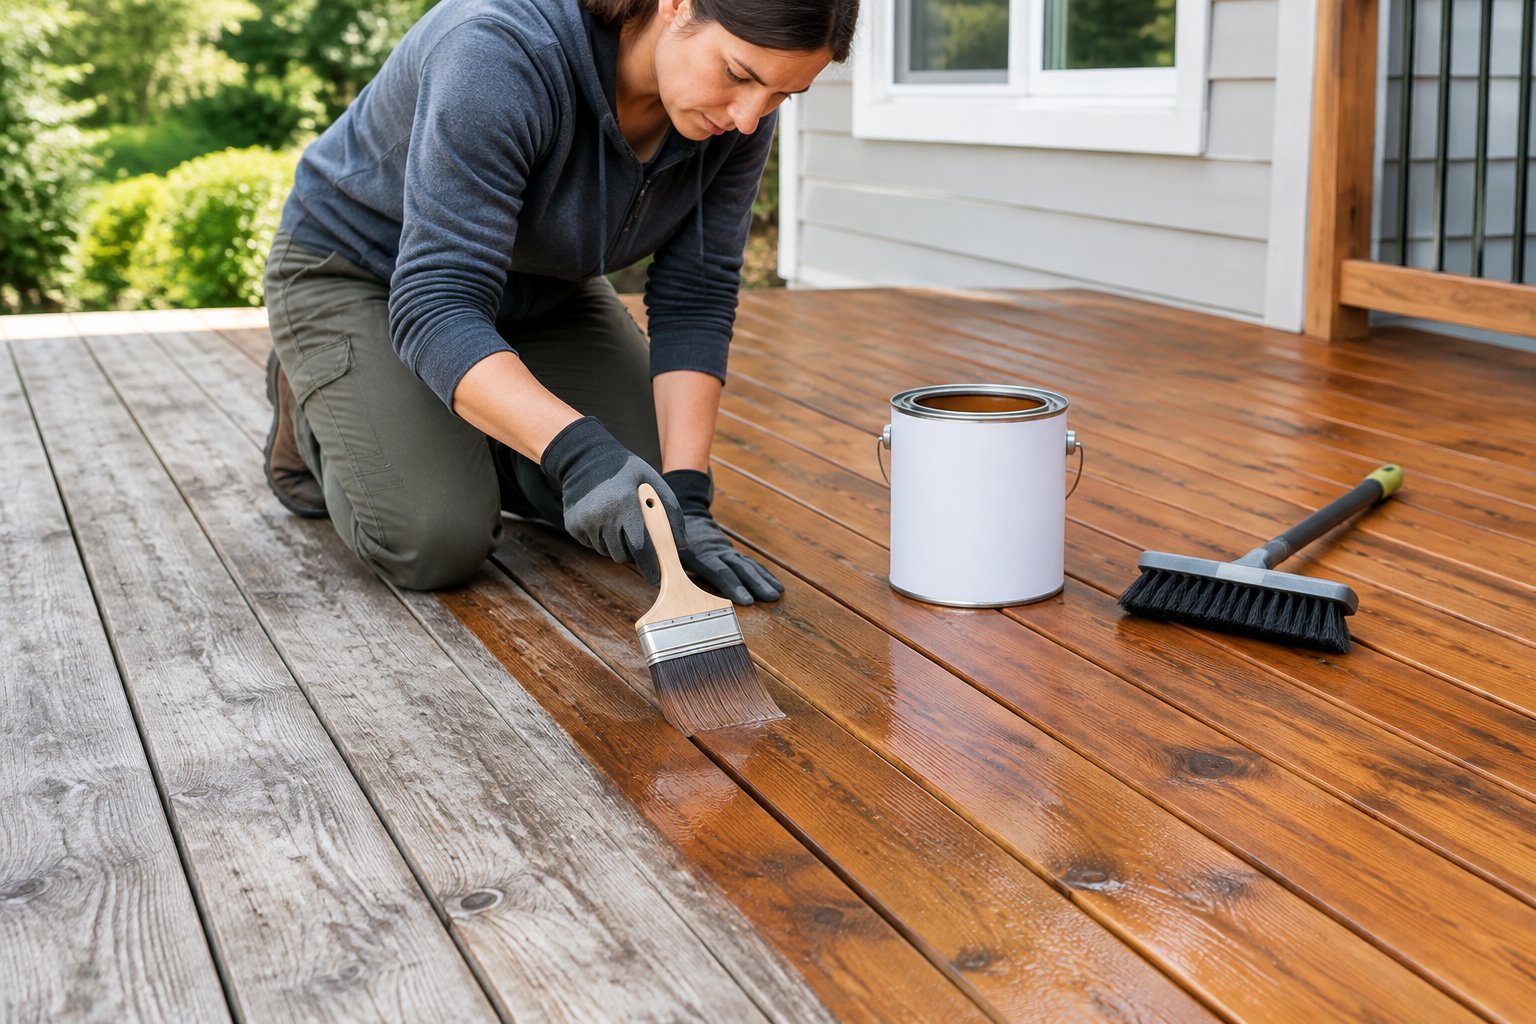
Gray boards and rough grain do not automatically mean your deck needs replacement. The key to deck restoration is separating surface wear from damage that affects safety. Before you buy finishing supplies, check whether the wood and supporting structure are sound.
Step 1: Inspect the Deck and Decide Whether Restoration Is Safe
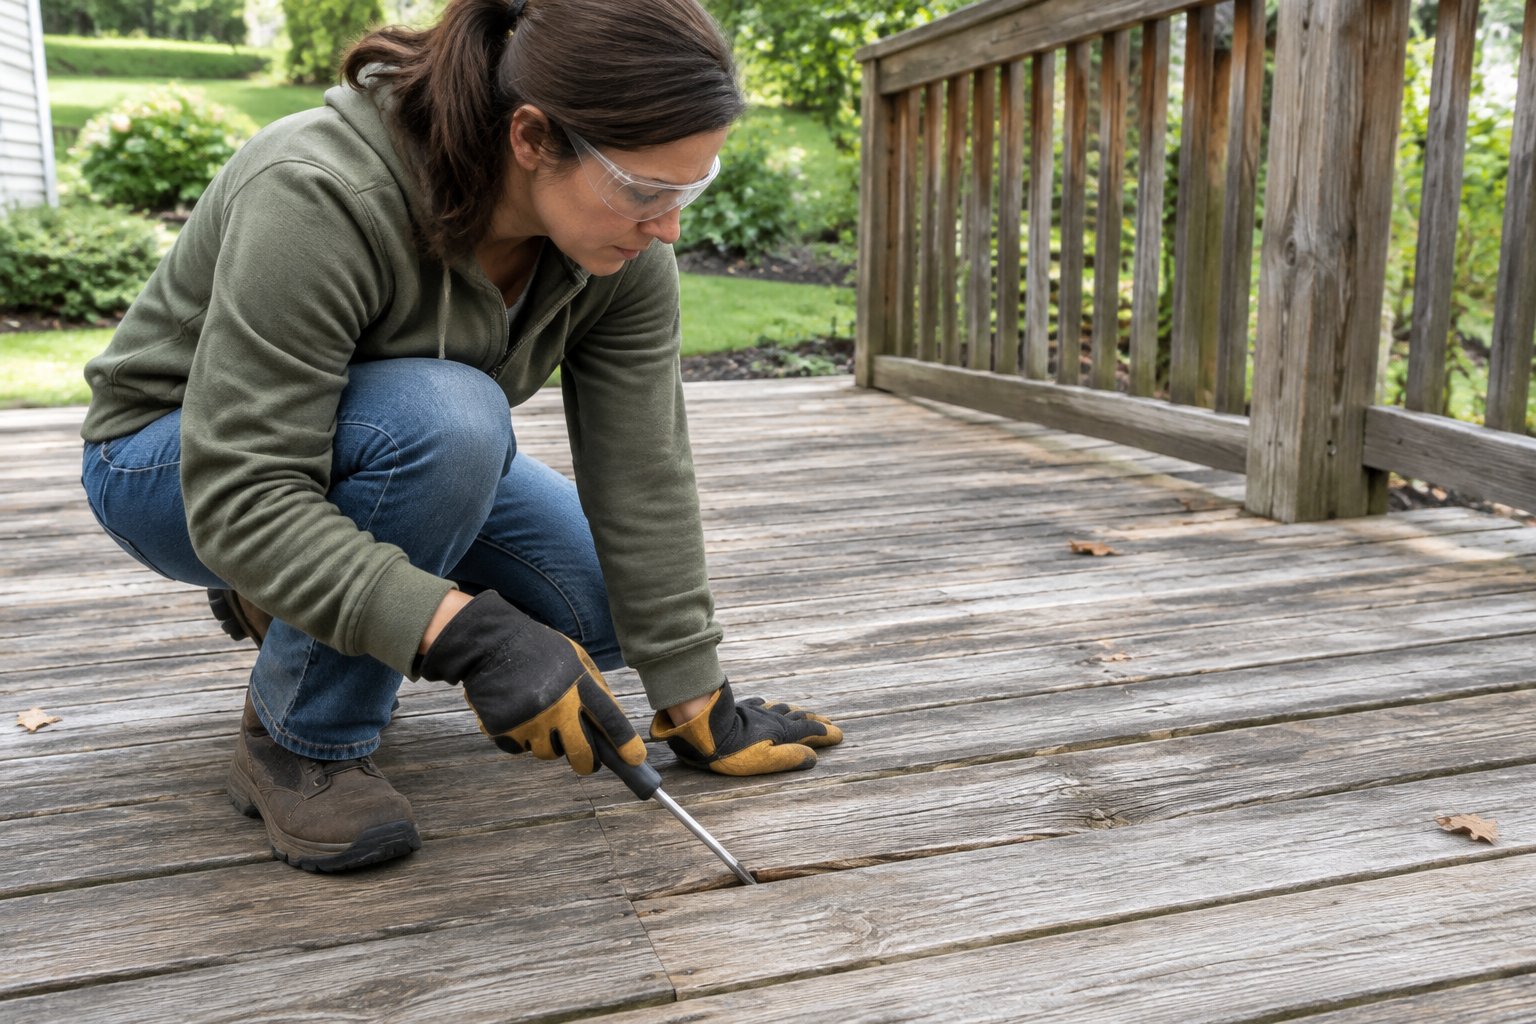
We recommend restoring a weathered deck only after you confirm that its framing and connections are secure. Stain and sealer protect the surface. Structural damage requires repair before refinishing begins.
Inspect the decking, stairs, railings, posts, beams, and joists. Check the ledger connection where an attached deck meets the house, including visible flashing and hardware. Look underneath when you have safe access.
- Probe suspicious wood gently with a screwdriver. Soft, crumbling areas indicate decay.
- Mark boards with deep splits, severe warping, or weak areas around fasteners.
- Check for loose guards, unstable stairs, sagging framing, and badly corroded connectors.
- Look for trapped moisture beneath planters and around board ends.
Stop using the deck and arrange a qualified inspection if you find unstable framing, a loose ledger, or widespread rot. Avoid entering the space beneath an unstable deck.
Identify the decking material before proceeding. Pressure-treated wood still needs inspection for decay. Composite decking requires its manufacturer’s cleaning instructions and should receive a coating only when the manufacturer permits it.
Step 2: Gather Supplies and Plan Around the Weather
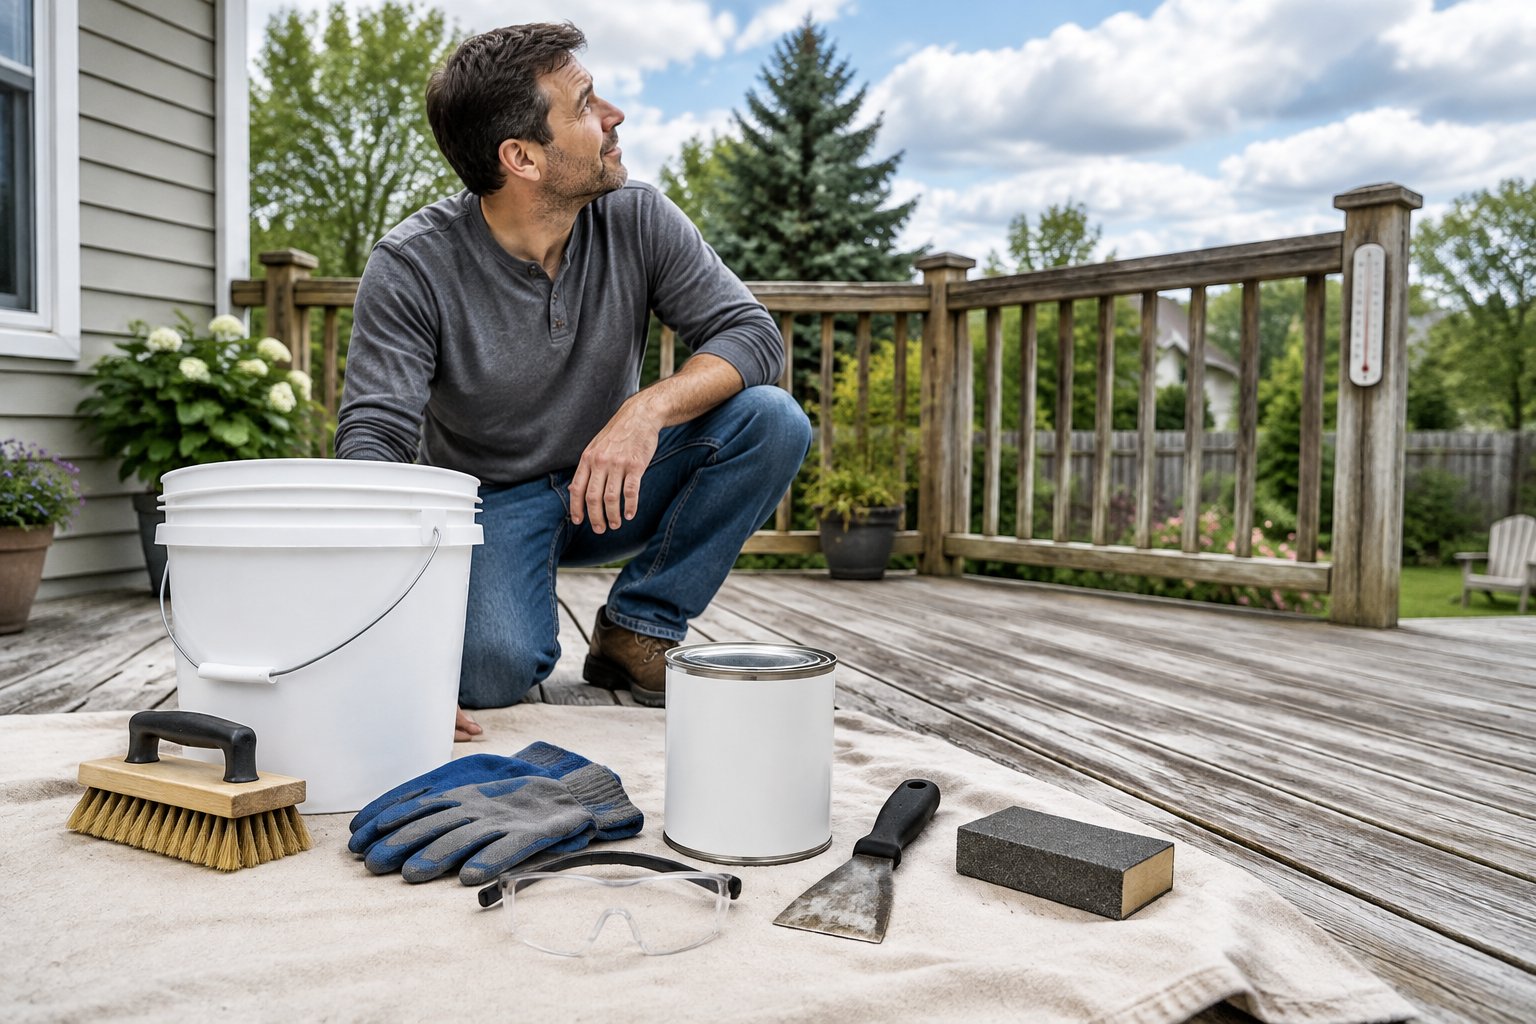
Your deck refinishing schedule needs enough dry weather for preparation, wood drying, and the finish’s rain-free curing window. Read the finish label before setting your work dates.
Measure the deck floor and account for stairs and railings separately. Use each product’s coverage rate and required coat count to calculate quantities. Rough, porous wood consumes finish faster than a smooth surface.
Gather:
- Exterior replacement boards and compatible deck screws.
- Drill, driver bits, pry bar, and appropriate cutting tools.
- Deck cleaner, finish remover if needed, and a compatible brightener.
- Synthetic-bristle scrub brush, buckets, hose, and chemical-resistant sprayer.
- Sander, suitable abrasives, and a vacuum.
- Brushes or pads approved for your finish.
- Eye protection, chemical-resistant gloves, and protective footwear.
- Dust protection suited to sanding, plus hearing protection for power tools.
- Masking materials and plant covers.
Check the label for air and surface temperature limits. Hot boards dry coatings too quickly, while cool, damp conditions slow curing. Allow for morning dew and shaded areas that stay wet longer.
Step 3: Replace Damaged Boards and Secure Loose Fasteners
Replace weakened boards and secure loose decking before you begin wet cleaning. Match replacement lumber to the existing material and dimensions.
- Remove failed fasteners carefully, protecting neighboring boards with a scrap block beneath your pry bar.
- Lift the damaged board and inspect the exposed joists.
- Cut replacement decking so every end has adequate support. Have suitable blocking installed where needed.
- Predrill near board ends, then fasten into sound framing with corrosion-resistant deck screws.
- Match drainage gaps to the decking manufacturer’s requirements.
Use screws approved for your pressure-treated wood and exposure conditions. Seat heads as specified without crushing the board surface. Treat freshly cut ends of pressure-treated lumber when the lumber manufacturer requires it.
Reserve wood filler for small cosmetic defects when both the filler and finish manufacturers approve the repair. Filler does not restore strength to rotten wood. Transparent stain also exposes many patched areas.
New pressure-treated boards need to meet the finish’s moisture requirements before coating. A newly installed board may dry on a different schedule from the surrounding deck.
Step 4: Protect Nearby Surfaces, Clean the Wood, and Strip Failing Finishes
Deck cleaning removes contamination, while a compatible stripper removes coatings that interfere with the new finish. Choose the preparation method after identifying the existing coating.
Move furniture and clear debris from board gaps. Protect siding and metal surfaces as directed by the cleaner label. Wet nearby plants and use suitable covers during application, then remove covers promptly to prevent heat buildup.
For bare, dirty wood, select a deck cleaner approved for the wood species. Oxygen bleach cleaners are an option for wood cleaning, but they still require label-directed dilution and protective equipment.
For peeling or incompatible finishes, use a remover rated for that coating. Solid stains and paints need a different removal approach from many penetrating stains.
- Work in manageable areas and follow the stated dwell time.
- Keep the treatment wet when the instructions require it.
- Scrub with a synthetic-bristle brush.
- Rinse thoroughly without driving water into the house.
A hose and brush are preferable when they provide enough cleaning power. If pressure washing is necessary, test a hidden area using the lowest effective pressure and a wide fan pattern. Stop if the spray cuts grooves or tears fibers.
Never mix cleaning chemicals. Have older painted surfaces checked for lead before disturbing them, and contain runoff as local rules require.
Step 5: Apply a Compatible Deck Brightener and Rinse Thoroughly
A compatible deck brightener helps restore wood color and neutralize the surface after certain alkaline cleaners or strippers. Follow a matched preparation system so the products work together.
Rinse away the cleaner or stripper before applying brightener. Many brighteners contain acids, so keep chemicals separate and rinse thoroughly.
Apply the product at its labeled dilution and keep it on the wood for the specified time. Some systems call for application while the deck remains wet. One manufacturer’s preparation system specifies a 10-minute brightener dwell time followed by a 20-minute rinse; those timings apply to that system.
Work evenly across boards to reduce color differences. Light scrubbing is appropriate when the label calls for it, and the product should remain wet during its treatment period.
Rinse the wood thoroughly, including railings and board gaps. Let the deck drain before starting the drying period. Brightener does not replace stripping when old finish still blocks the surface.
Step 6: Let the Wood Dry, Sand Rough Areas, and Remove Dust
Dry wood and a dust-free surface are essential before most deck finishes go on. Check moisture directly when the finish specifies a maximum reading.
Drying time changes with shade, humidity, airflow, and board thickness. Check several locations with a moisture meter, including replacement boards and sheltered sections. Follow the finish manufacturer’s limit.
Once the deck is dry:
- Confirm that fasteners will clear the sanding equipment.
- Sand raised fibers and splintered areas with the grain.
- Smooth handrails and exposed edges without rounding them excessively.
- Vacuum the surface and board gaps, then remove remaining dust as the finish label directs.
For weathered deck boards, abrasives in the 60- to 80-grit range are a common starting point. Follow your coating’s preparation requirements and avoid polishing the surface so finely that it reduces absorption.
During deck refinishing, use dust collection and appropriate respiratory protection, especially with treated lumber. Collect sanding waste and dispose of it under local rules. If your preparation system requires another wash after sanding, allow the wood to dry again before coating.
Step 7: Choose a Compatible Stain or Sealer
A pigmented exterior deck stain is a good option for sound, weather-worn wood when you want visible grain and added protection from sunlight. Choose a product explicitly rated for horizontal walking surfaces.
The main finish options offer different appearances:
- Clear water-repellent sealer: Preserves the wood’s appearance with limited color correction. Check its stated UV protection.
- Transparent or semitransparent deck stain: Adds pigment while keeping the grain visible.
- Solid-color deck stain: Hides more discoloration and produces an opaque appearance.
- Restoration coating: Builds a thicker surface and requires careful preparation and product-specific application.
Different wood stains leave different amounts of grain visible, so test your chosen color on prepared wood. Include a replacement board in the test if your deck has repairs.
Compatibility also includes the old coating. Confirm whether the new product permits application over the remaining finish or requires bare wood. Oil-based and water-based labels alone do not establish compatibility.
Many deck stains already provide water repellency. Add a separate clear sealer only when the stain manufacturer approves that exact combination.
Step 8: Apply the Finish Evenly and Allow It to Cure
Apply deck stain at the labeled spread rate while maintaining a wet edge along each board. Start with railings so drips land on unfinished decking.
Stir the finish thoroughly and repeat as directed during application. If you need several containers, combine them when permitted to reduce slight color differences.
- Coat railings and posts, catching runs immediately.
- Brush around edges and other areas your main applicator cannot reach.
- Work along a manageable group of boards from end to end.
- Back-brush rolled or sprayed stain when the instructions require it.
- Spread or remove excess penetrating stain before it becomes tacky.
Keep your exit route open. Apply additional coats only at the stated interval; some products require wet-on-wet application, while others need drying between coats.
Treat rain resistance, foot-traffic readiness, and full cure as separate milestones. One finish system calls for 24–48 hours of drying before use, depending on temperature and humidity. Your product’s instructions control when furniture and rugs return.
Handle oil-soaked rags under the label’s fire-safety instructions. Never leave them piled together or place them wet with finish in household trash.
How Much Does DIY Deck Restoration Cost, and How Long Does It Take?
Budget from measured coverage and local supply prices, with tool costs and repairs listed separately. Deck size and the amount of old coating removal directly affect the bill.
For a useful estimate, add these categories:
| Budget item | How to calculate it |
|---|---|
| Cleaner and brightener | Treated area divided by labeled coverage |
| Stripper | Area requiring removal, allowing for repeat treatment |
| Stain or sealer | Surface area multiplied by coat count, divided by coverage |
| Repairs | Replacement lumber, fasteners, and approved end-cut treatment |
| Equipment | Rental or purchase costs, plus abrasives and applicators |
A materials-only figure leaves out expensive repairs and equipment purchases. Confirm those costs before committing to DIY deck restoration.
For scheduling, allow several days for a cosmetic project and keep room for weather delays. Deck refinishing spread across separate weekends gives washed wood time to dry before coating.
Repairs come first, followed by wet preparation and drying. Sanding and finishing follow only when surface conditions are suitable. Extensive coating removal or wet replacement lumber extends that schedule.
Keep the Restored Deck Clean and Renew Its Finish as Needed
Regular deck maintenance helps the finish shed water and keeps debris from holding moisture against the wood. Check high-wear and shaded areas during routine deck cleaning.
Sweep away leaves and clear drainage gaps. Lift planters on suitable supports and clean beneath furniture. Use breathable outdoor mats approved for your finish, and avoid covers that trap moisture.
Wash spills promptly with a cleaner compatible with the coating. Aggressive scrubbing and concentrated chemicals damage some finishes, so test any new cleaner in a hidden spot.
Watch for fading, worn patches, peeling, or exposed grain. Follow the finish maker’s renewal process when protection wears away. A maintenance coat requires a clean, properly prepared surface, even when the existing finish remains in good condition.
Keep the product name, color, and application date with your home records. That information makes the next maintenance decision easier and helps prevent incompatible recoating.
Frequently Asked Questions
How should you handle an old finish if you cannot identify it?
We recommend testing removal and the proposed new finish in a small, hidden area. If compatibility remains unclear, contact the finish manufacturer with photos and test results before treating the full deck.
What causes sticky patches after deck staining?
Excess stain, poor absorption, or unsuitable drying conditions can cause sticky patches. Follow the manufacturer’s cleanup or correction procedure promptly. Adding another coat increases the buildup.
Will new boards match the rest of a restored deck?
New boards often absorb deck stain differently from weathered boards, so an exact match is difficult. Test both surfaces after preparation and choose a level of pigment that gives you an acceptable blend.
Can you restore only the worn walking paths?
Spot restoration works when the existing coating allows local repairs, though some finishes will show a color difference. We recommend testing the repair first and coating to natural board boundaries when the product allows it.
Ashley Wells

Your trusted source for product reviews, decor inspiration, and expert tips. Ashley Wells helps you make informed choices and elevate your lifestyle. Discover the best products and decor solutions for your home. Follow Ashley Wells for the latest reviews and trends. Create your ultimate living spaces with her.