
We recommend a continuous glucose monitor (CGM) for people seeking testing blood sugar at home without a lancet. It tracks glucose through a wearable sensor and reduces routine finger pricks. Most home-applied CGMs use an insertion needle to place a thin sensor filament beneath the skin. The needle withdraws after application, while the filament stays in place.
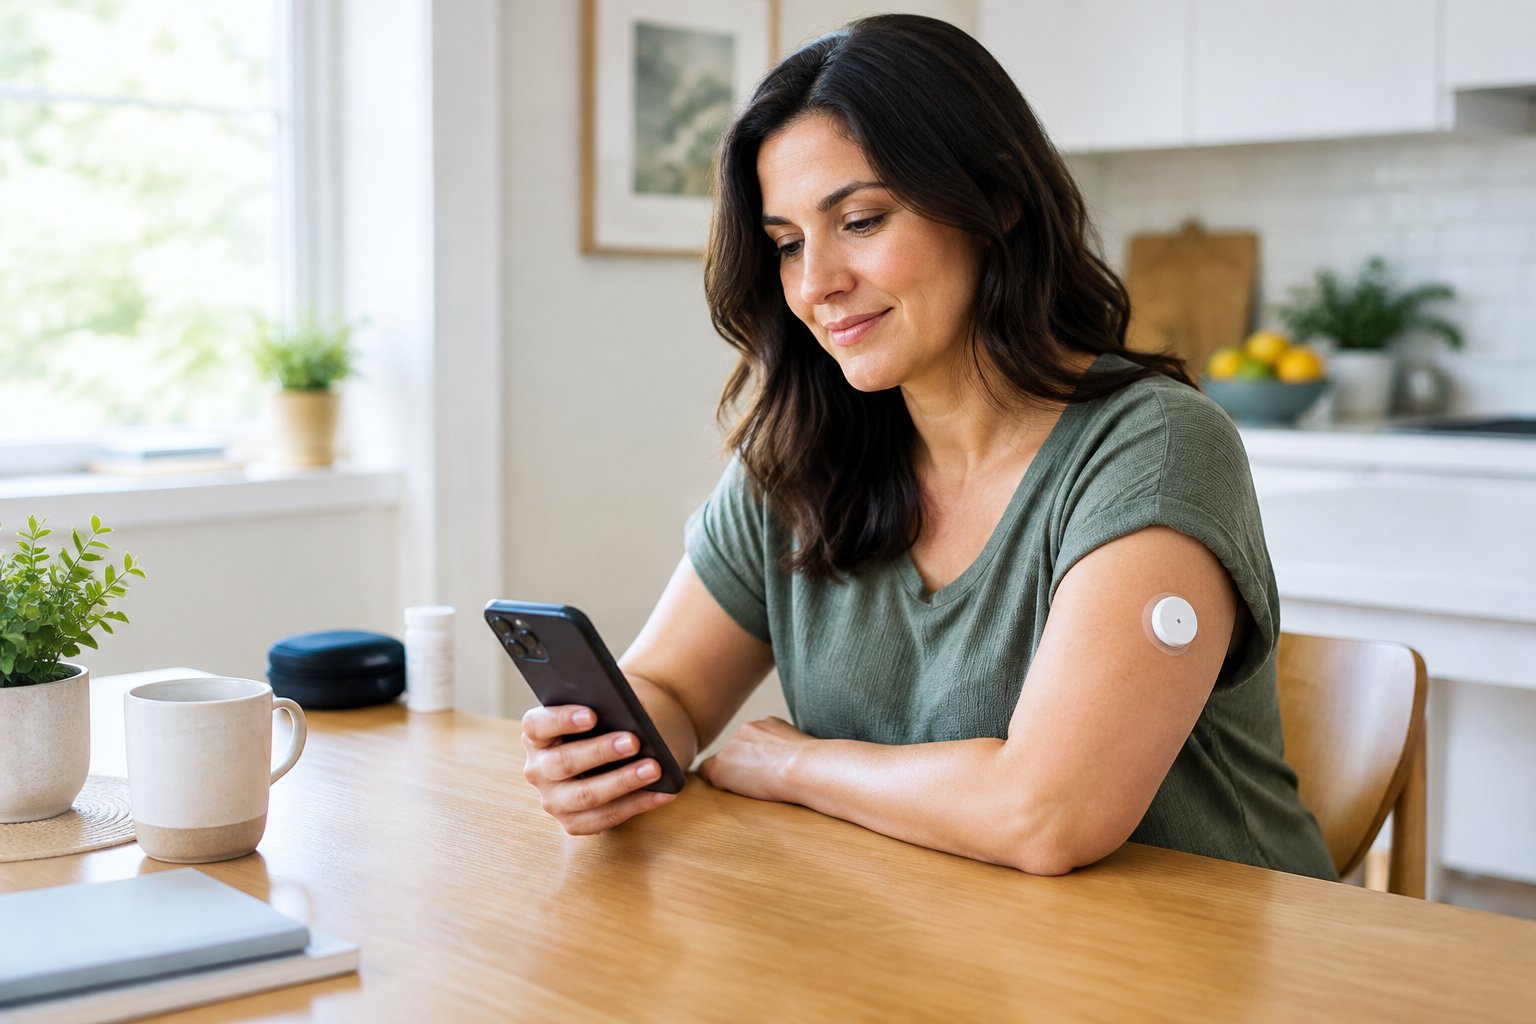
This approach makes frequent blood sugar testing easier, especially when you need overnight readings or alerts. A backup finger-prick kit still belongs in your supplies for sensor gaps or readings that conflict with how you feel.
Can You Avoid Lancets Without Avoiding All Needles?
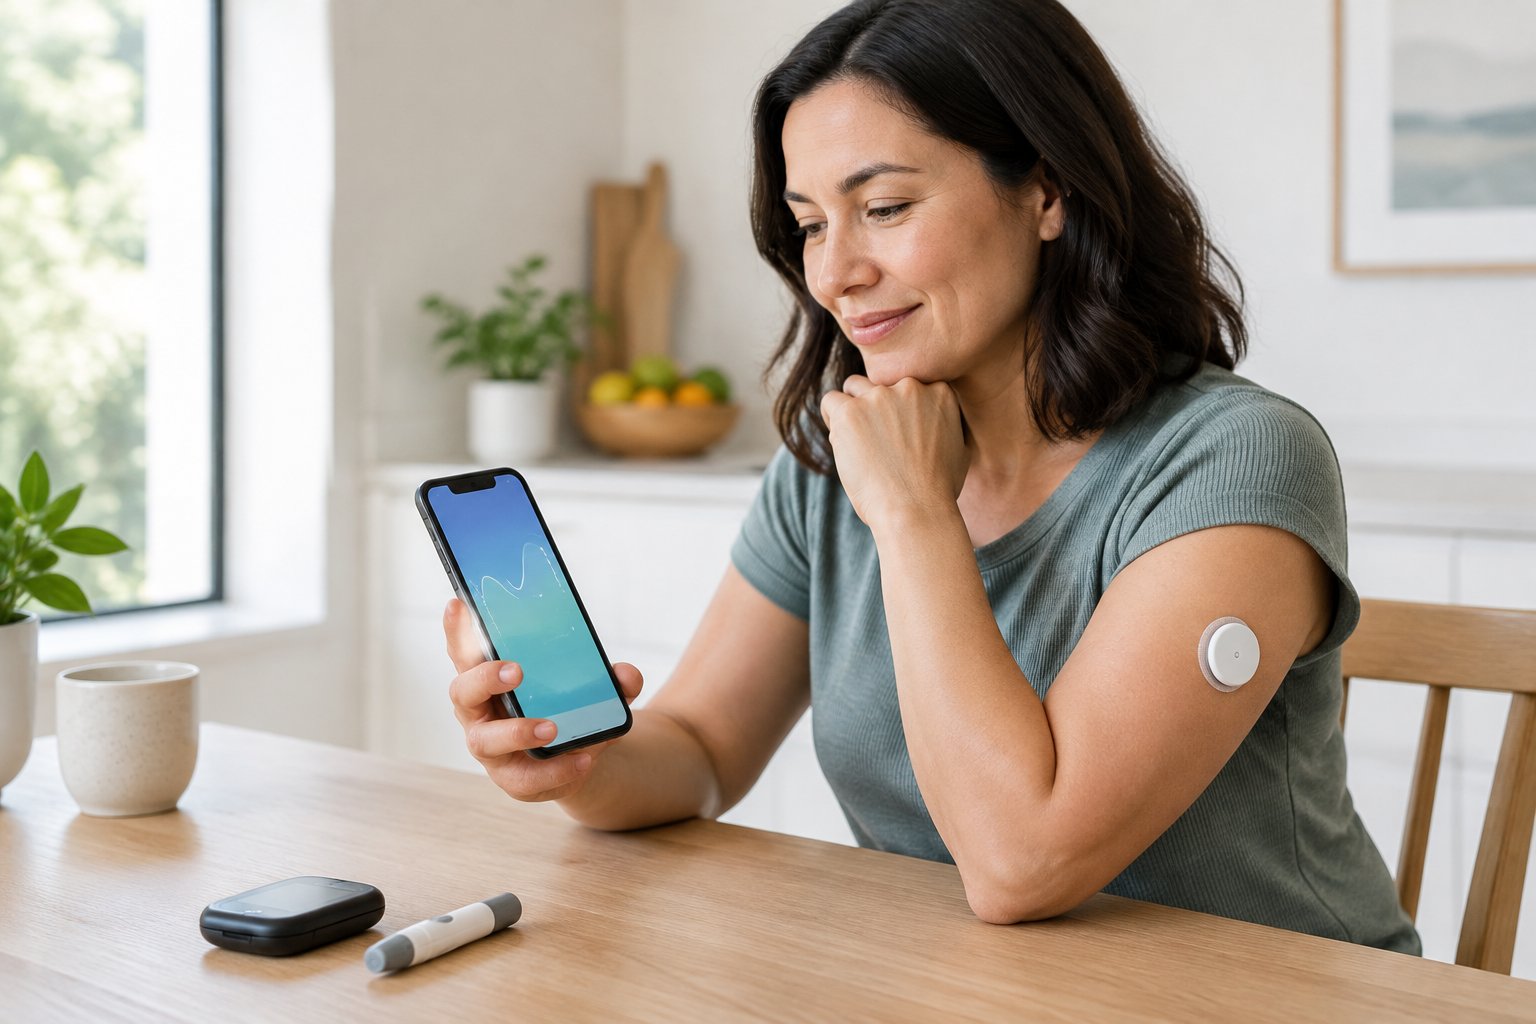
You can avoid routine lancet use with a CGM, but sensor placement still involves a brief skin puncture. We distinguish “finger-prick-free” from “fully needle-free” because these terms describe different experiences.
A standard blood glucose meter measures glucose in a drop of blood. A CGM measures glucose in interstitial fluid, the fluid between cells, and sends readings to a compatible reader or phone.
For most home-applied systems, you replace the sensor on the schedule specified for that model. Implantable systems require placement and removal by a healthcare professional. Your choice should account for your comfort with insertion and the amount of help you need.
Choose a Continuous Glucose Monitor That Fits Your Needs
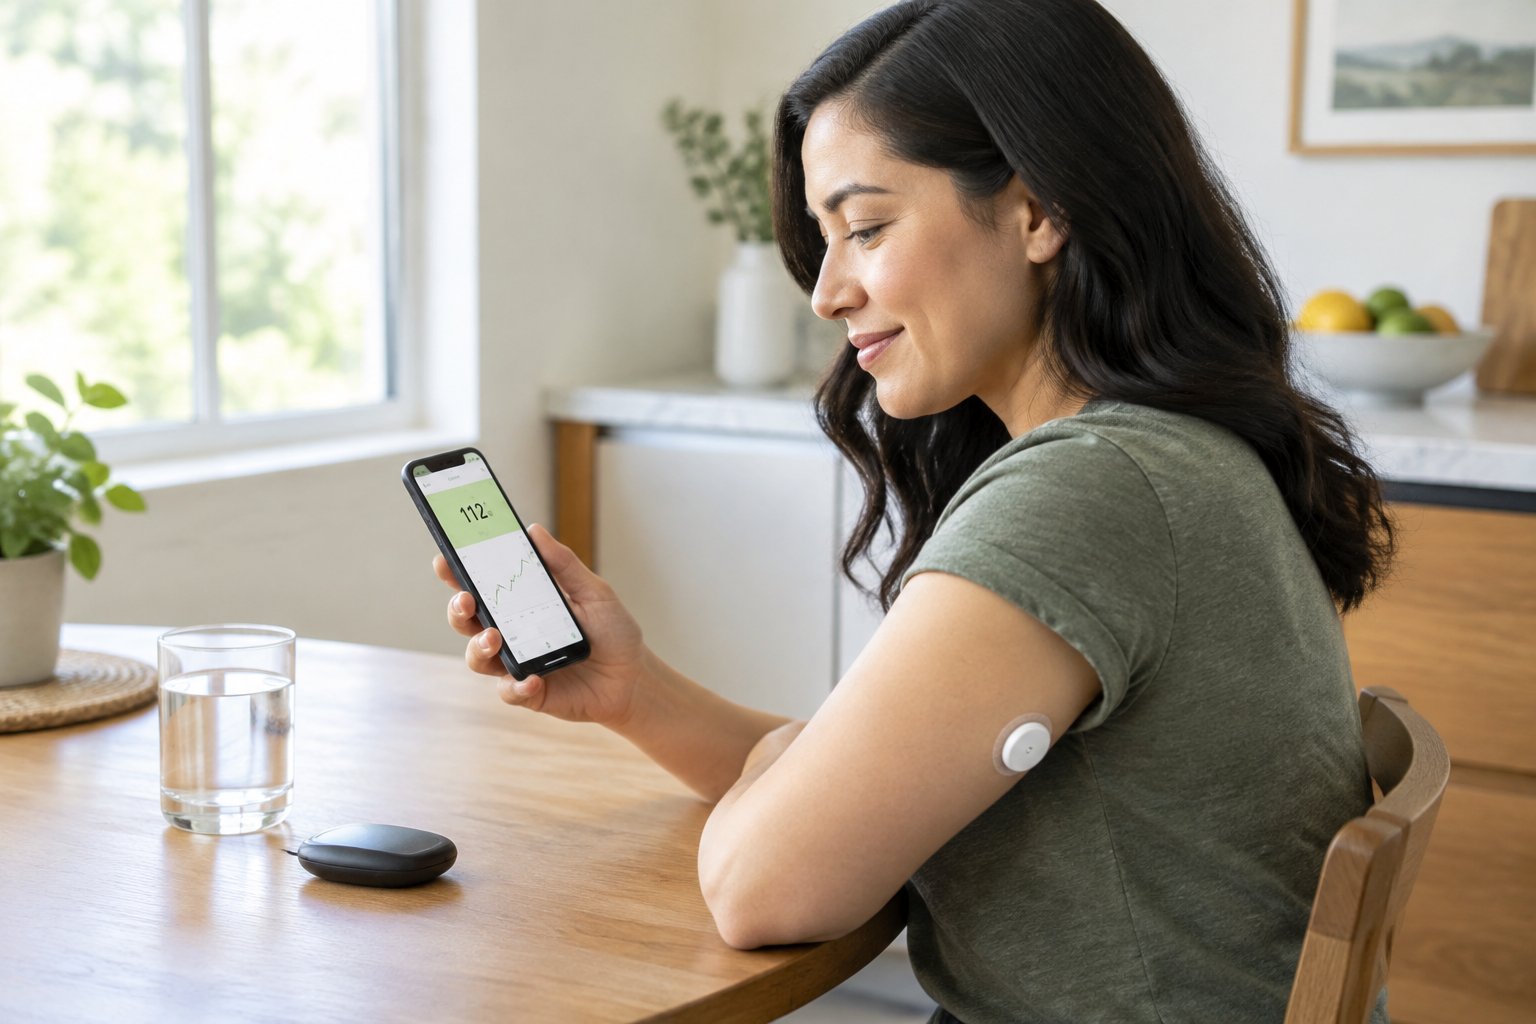
Choose an FDA-authorized CGM whose intended use matches your treatment and risk of low glucose. For someone with type 1 diabetes or frequent lows, we prioritize dependable alerts and compatibility with the prescribed treatment plan.
Before choosing a system, check:
- Treatment use: Confirm whether its readings support insulin dosing.
- Alerts: Check for low-glucose warnings and whether the receiving device must remain nearby.
- Compatibility: Verify your exact phone model, operating system, and insulin pump, if applicable.
- Application: Review approved body sites, wear time, and replacement steps.
- Calibration: Check whether the model requires scheduled finger-prick readings.
- Accessibility: Consider a dedicated reader, readable text, and audible or vibrating alerts.
Some factory-calibrated CGMs do not require routine finger-stick calibration. This feature reduces scheduled blood glucose testing, though confirmation checks remain necessary in certain situations.
If your goal is to observe blood glucose levels around meals, discuss whether an over-the-counter device suits you. A device intended for wellness tracking or adults who do not use insulin has a different role from a system prescribed for insulin management.
Check Eligibility, Prescription Requirements, and Costs
Prescription CGMs and over-the-counter CGMs have different eligibility rules. We recommend checking the exact product’s labeling before you buy, particularly its age limits and restrictions related to insulin use or hypoglycemia.
For a prescription system, ask your clinician to document your treatment needs. Insurance approval is separate from receiving a prescription. Medicare, Medicaid, and private plans each apply their own coverage requirements.
Before ordering, ask the insurer or supplier:
- Is this exact model covered?
- Does it require prior authorization?
- Must you use a pharmacy or a medical equipment supplier?
- What will you pay for replacement sensors and any required receiver or transmitter?
- Are follow-up visits or renewal documents required?
Compare recurring supply costs as well as the initial purchase. Confirm the current cash price and any savings-program restrictions directly with the seller, since coverage and offers change.
Apply Your Sensor and Set Up the Reader or App
Correct application starts with the instructions for your exact sensor model. We recommend reading them before opening the applicator so you know the approved placement site and startup sequence.
Follow these steps:
- Check the supplies. Confirm the sensor is within its expiration date and the package is intact.
- Prepare the receiving device. Charge the reader or confirm phone compatibility, then install the official app.
- Choose an approved site. Avoid irritated skin and areas where clothing will rub the sensor.
- Clean and dry the skin. Follow the manufacturer’s cleaning directions and let the area dry fully.
- Apply the sensor. Use the applicator exactly as directed. Dispose of it according to its instructions and local sharps rules.
- Start the sensor. Pair or scan it as instructed, then wait through the model’s warm-up period.
- Check the connection. Confirm readings appear and required permissions are enabled.
For FreeStyle Libre systems, setup includes downloading the app, applying the sensor, and starting readings. Follow the instructions for your particular version, since startup details differ.
Keep your usual monitoring supplies available throughout warm-up. Contact the manufacturer or your care team if insertion causes persistent pain, significant bleeding, or a worsening skin reaction.
Read Your Glucose Trends and Set Appropriate Alerts
A useful CGM check includes the current reading, trend arrow, and recent graph. Review all of them before following your treatment plan, because the arrow shows the direction your glucose is moving.
CGM readings sometimes trail blood glucose during rapid changes, such as after eating, exercise, or low-glucose treatment. Avoid repeated correction doses outside your prescribed schedule. Insulin already taken continues working.
Set your alerts with your diabetes care team. Agree on what you should do when each alert sounds, including overnight. Check the app’s sound settings and how phone focus modes affect notifications.
Your blood sugar levels need personal targets. Common targets for many nonpregnant adults with diabetes are 80–130 mg/dL before meals and below 180 mg/dL one to two hours after meals. Pregnancy, age, and hypoglycemia risk call for individualized goals. Alert settings need not match meal targets exactly.
Know When a Finger-Prick Check Is Still Needed
Keep a blood glucose meter available for readings that conflict with symptoms, missing sensor information, and checks required by the device instructions. Many CGMs support treatment decisions without confirming every reading, but follow your model’s rules.
Use fingertip blood glucose testing when:
- You feel shaky, sweaty, faint, or confused despite a reassuring sensor reading.
- The display shows an error, signal loss, or a request for a meter check.
- The sensor is warming up and you need a treatment decision.
- Pressure on the sensor during sleep produces a suspected false low.
- The manufacturer requires calibration or confirmation under specific conditions.
We recommend choosing a backup blood glucose meter with easy-to-find compatible strips. Store unexpired strips and fresh lancets where you can reach them quickly.
Wash and dry your hands before checking. If a meter result is unexpectedly high or low, repeat it with a new strip, provided doing so does not delay urgent treatment.
Understand Why Alternate Site Testing Still Requires a Lancet
Alternate site testing still uses a lancet to collect blood through a skin puncture. We treat it as an option for reducing fingertip soreness, with specific limits on when it is appropriate.
Alternate site testing (AST) uses a meter-approved location, such as the forearm or part of the palm. Check your meter’s manual before testing anywhere beyond the fingertip. Approval for one location does not cover every body site.
Blood flow differs across these areas, so an alternate-site result can lag behind fingertip glucose during rapid changes. Use your fingertip when you suspect low glucose, have symptoms, or need to clarify a questionable CGM reading. Ask your clinician whether AST has a suitable place in your routine.
Recognize the Limits of Urine Tests, Phones, and Smartwatches
Urine glucose strips and stand-alone consumer gadgets are unsuitable substitutes for reliable glucose monitoring. Treat claims of painless glucose measurement cautiously, especially when a seller promises readings through an ordinary watch or phone camera.
Urine glucose reflects glucose that has passed into urine since the bladder was last emptied. It does not provide a dependable current blood glucose level or identify hypoglycemia. Urine ketone testing has a separate purpose in a diabetes sick-day plan.
The FDA warns that it has not authorized any smartwatch or smart ring to measure or estimate glucose on its own. Inaccurate readings create a risk of dangerous medication errors.
Compatible smartwatches that display CGM readings receive measurements from a separate glucose sensor. A phone app also needs an appropriate measuring device to provide dependable blood glucose levels for treatment decisions.
Respond Safely to Low or High Glucose Readings
Follow your written treatment plan promptly when a reading or symptoms suggest hypoglycemia or hyperglycemia. Keep that plan accessible, with fast-acting glucose and prescribed emergency supplies.
For suspected low glucose:
- If you are awake and able to swallow, use the fast-acting carbohydrate amount specified in your plan.
- Recheck at the prescribed interval. Use a meter when sensor lag makes recovery unclear.
- If you cannot swallow safely, have a seizure, or lose consciousness, someone should give prescribed glucagon and call 911. Food or drink by mouth creates a choking risk.
For high glucose, follow your prescribed correction and sick-day instructions. Drink water if your care plan permits it, and check ketones when directed, especially with type 1 diabetes or illness. Continue prescribed basal insulin unless your clinician directs a change.
Vomiting, abdominal pain, deep or difficult breathing, or confusion require emergency assessment. Seek urgent advice for significant ketones or high readings that persist despite your prescribed actions. Avoid exercise when ketones are present.
Frequently Asked Questions
A few practical details help you fit sensor monitoring into daily life. Check the instructions for your exact model before changing your routine.
Can a CGM diagnose diabetes at home?
A CGM alone cannot establish a diabetes diagnosis. Arrange clinical testing if you have symptoms or repeated unusual readings. Diagnosis requires appropriate laboratory tests and medical interpretation.
Can you shower or swim while wearing a sensor?
Many CGMs permit showering or swimming within specified water-resistance limits. Check your model’s depth and time limits, along with whether the reader or transmitter has separate restrictions.
What should you do if the adhesive irritates your skin?
Follow the device instructions and contact your care team if redness or itching persists. Remove the sensor and seek prompt advice for spreading redness, warmth, drainage, or a severe reaction. Apply barrier products only when compatible with the manufacturer’s directions.
What should you pack for travel with a CGM?
Pack spare sensors, your reader or phone charger, and a complete backup meter kit in your carry-on. Check the manufacturer’s airport-screening instructions before travel, since scanning and imaging guidance differs by device.
Ashley Wells

Your trusted source for product reviews, decor inspiration, and expert tips. Ashley Wells helps you make informed choices and elevate your lifestyle. Discover the best products and decor solutions for your home. Follow Ashley Wells for the latest reviews and trends. Create your ultimate living spaces with her.

